
November 18, 2023 Project: Restoring a Roland Lucina AX-09 Keytar
Earlier this year I have bought and restored a used keytar and I thought I would write up the experience for anyone thinking to take on a similar project.
This started with me watching videos of people playing cool riffs and electronic music on keytars online and then wanting one. A keytar (›wikipedia) is a keyboard (the musical instrument) that can be held like a Guitar, usually with a strap. They are not as prevalent as many other instruments but there is some amount of variety since they became popular in the 1980s. Some models include a synthesizer while others function as a MIDI controller, some are smaller and have mini-keys while others have full sized piano keys, the quality of the Aftertouch varies, etc. I played the keyboard for some time when I was younger, certainly I never exceeded beginner's level. So I wanted something pick up learning to play, full sized keys and preferably usable as a MIDI controller with a learning software such as Synthesia. The price of most new keytars was above what I was willing to spend though so I looked around for used ones for a while and eventually found a Roland Lucina AX-09 that had a non-funtioning button, broken stereo output, and had been adorned by its owner in the appropriate style of their glam rock band. I was able to restore the functionality of the broken button and the stereo output, decided to remove the gemstone adornments, and gave the device a good cleaning inside and out. Here are a few pictures of the process:
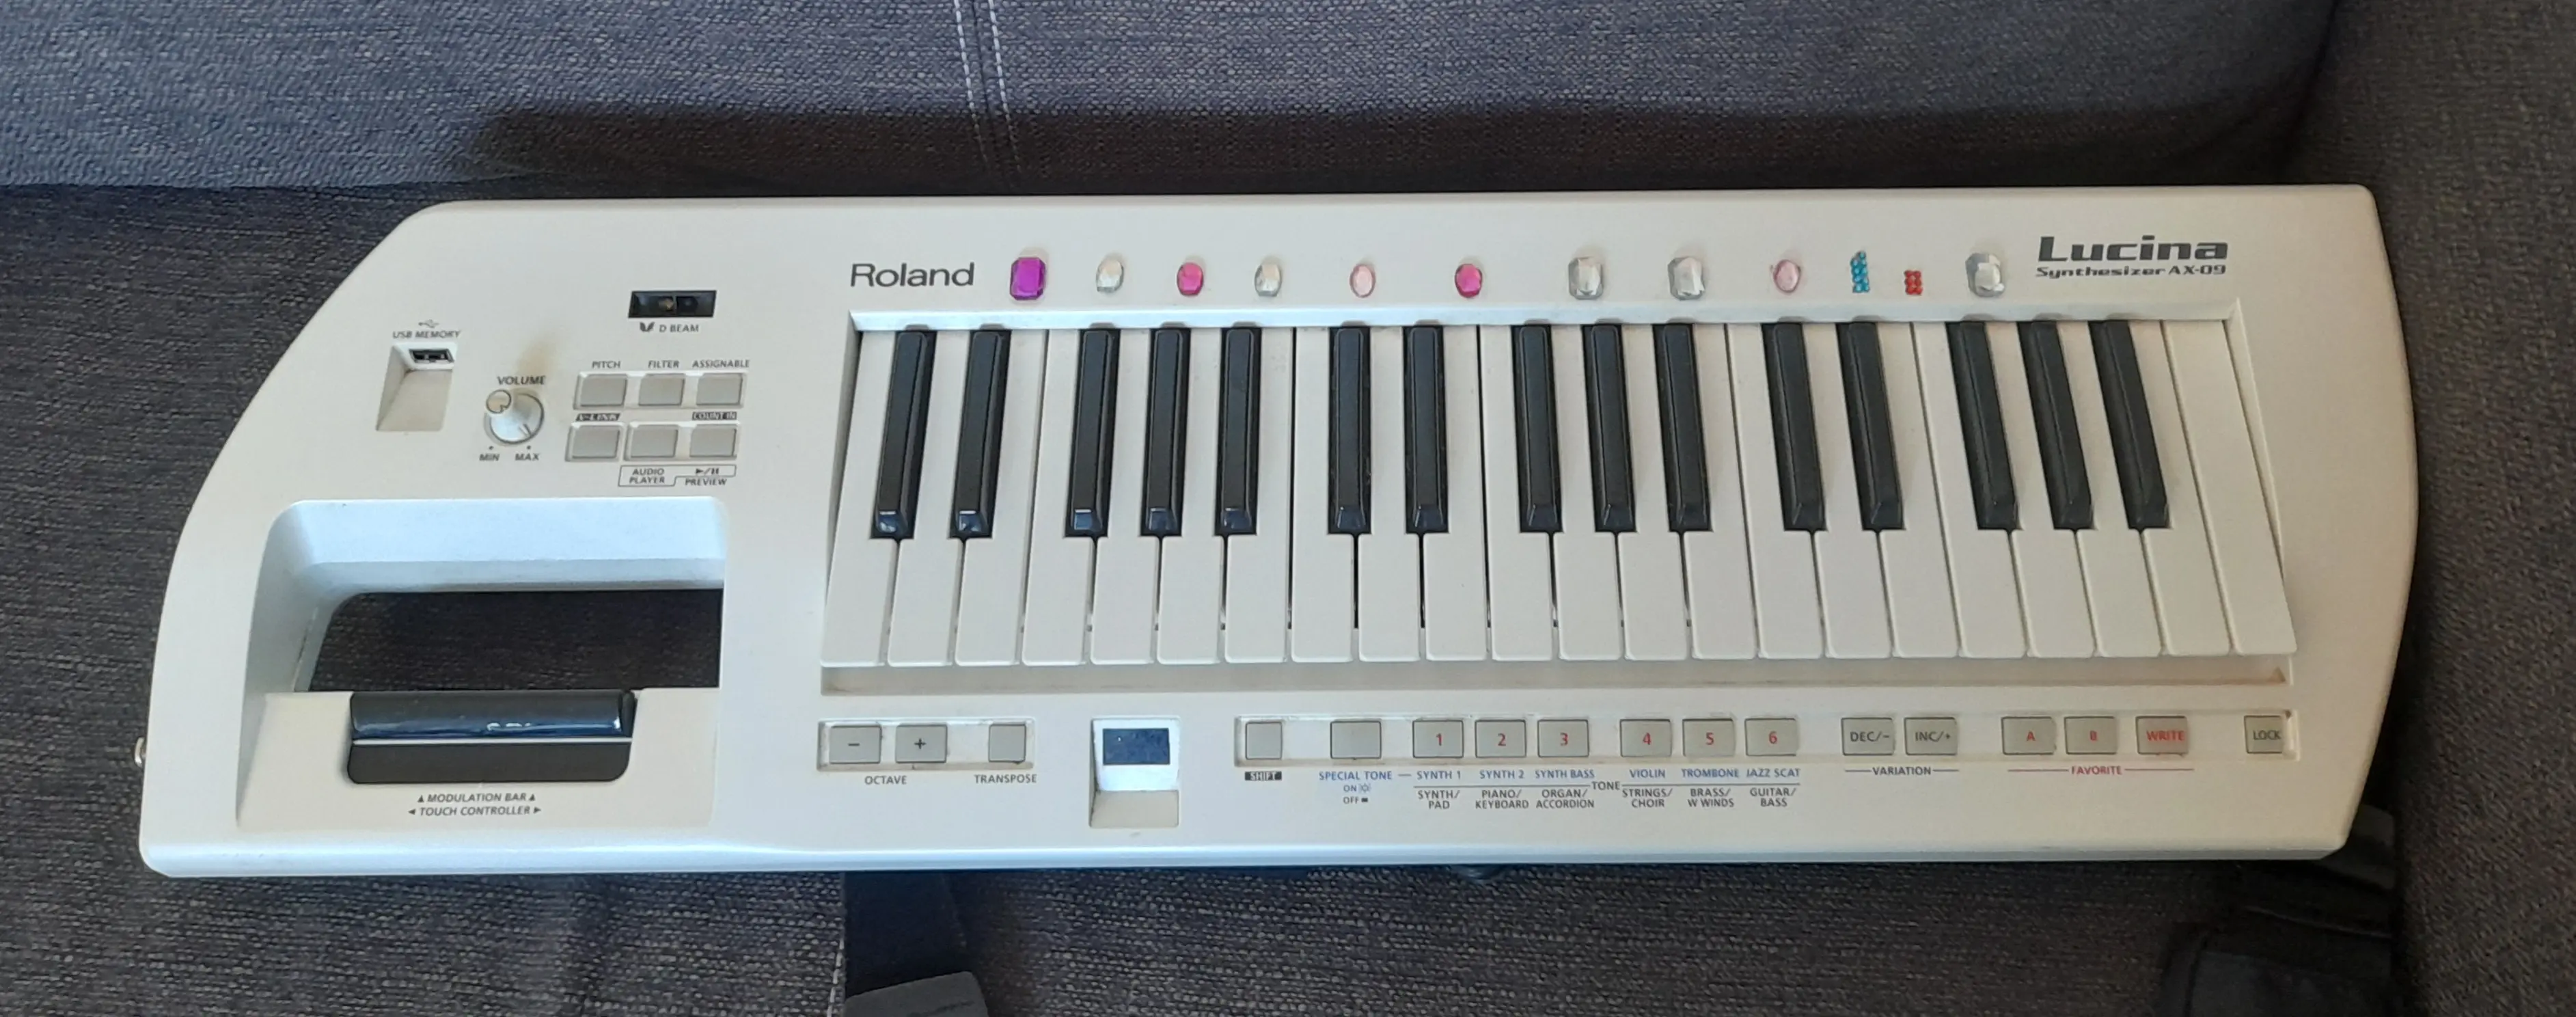
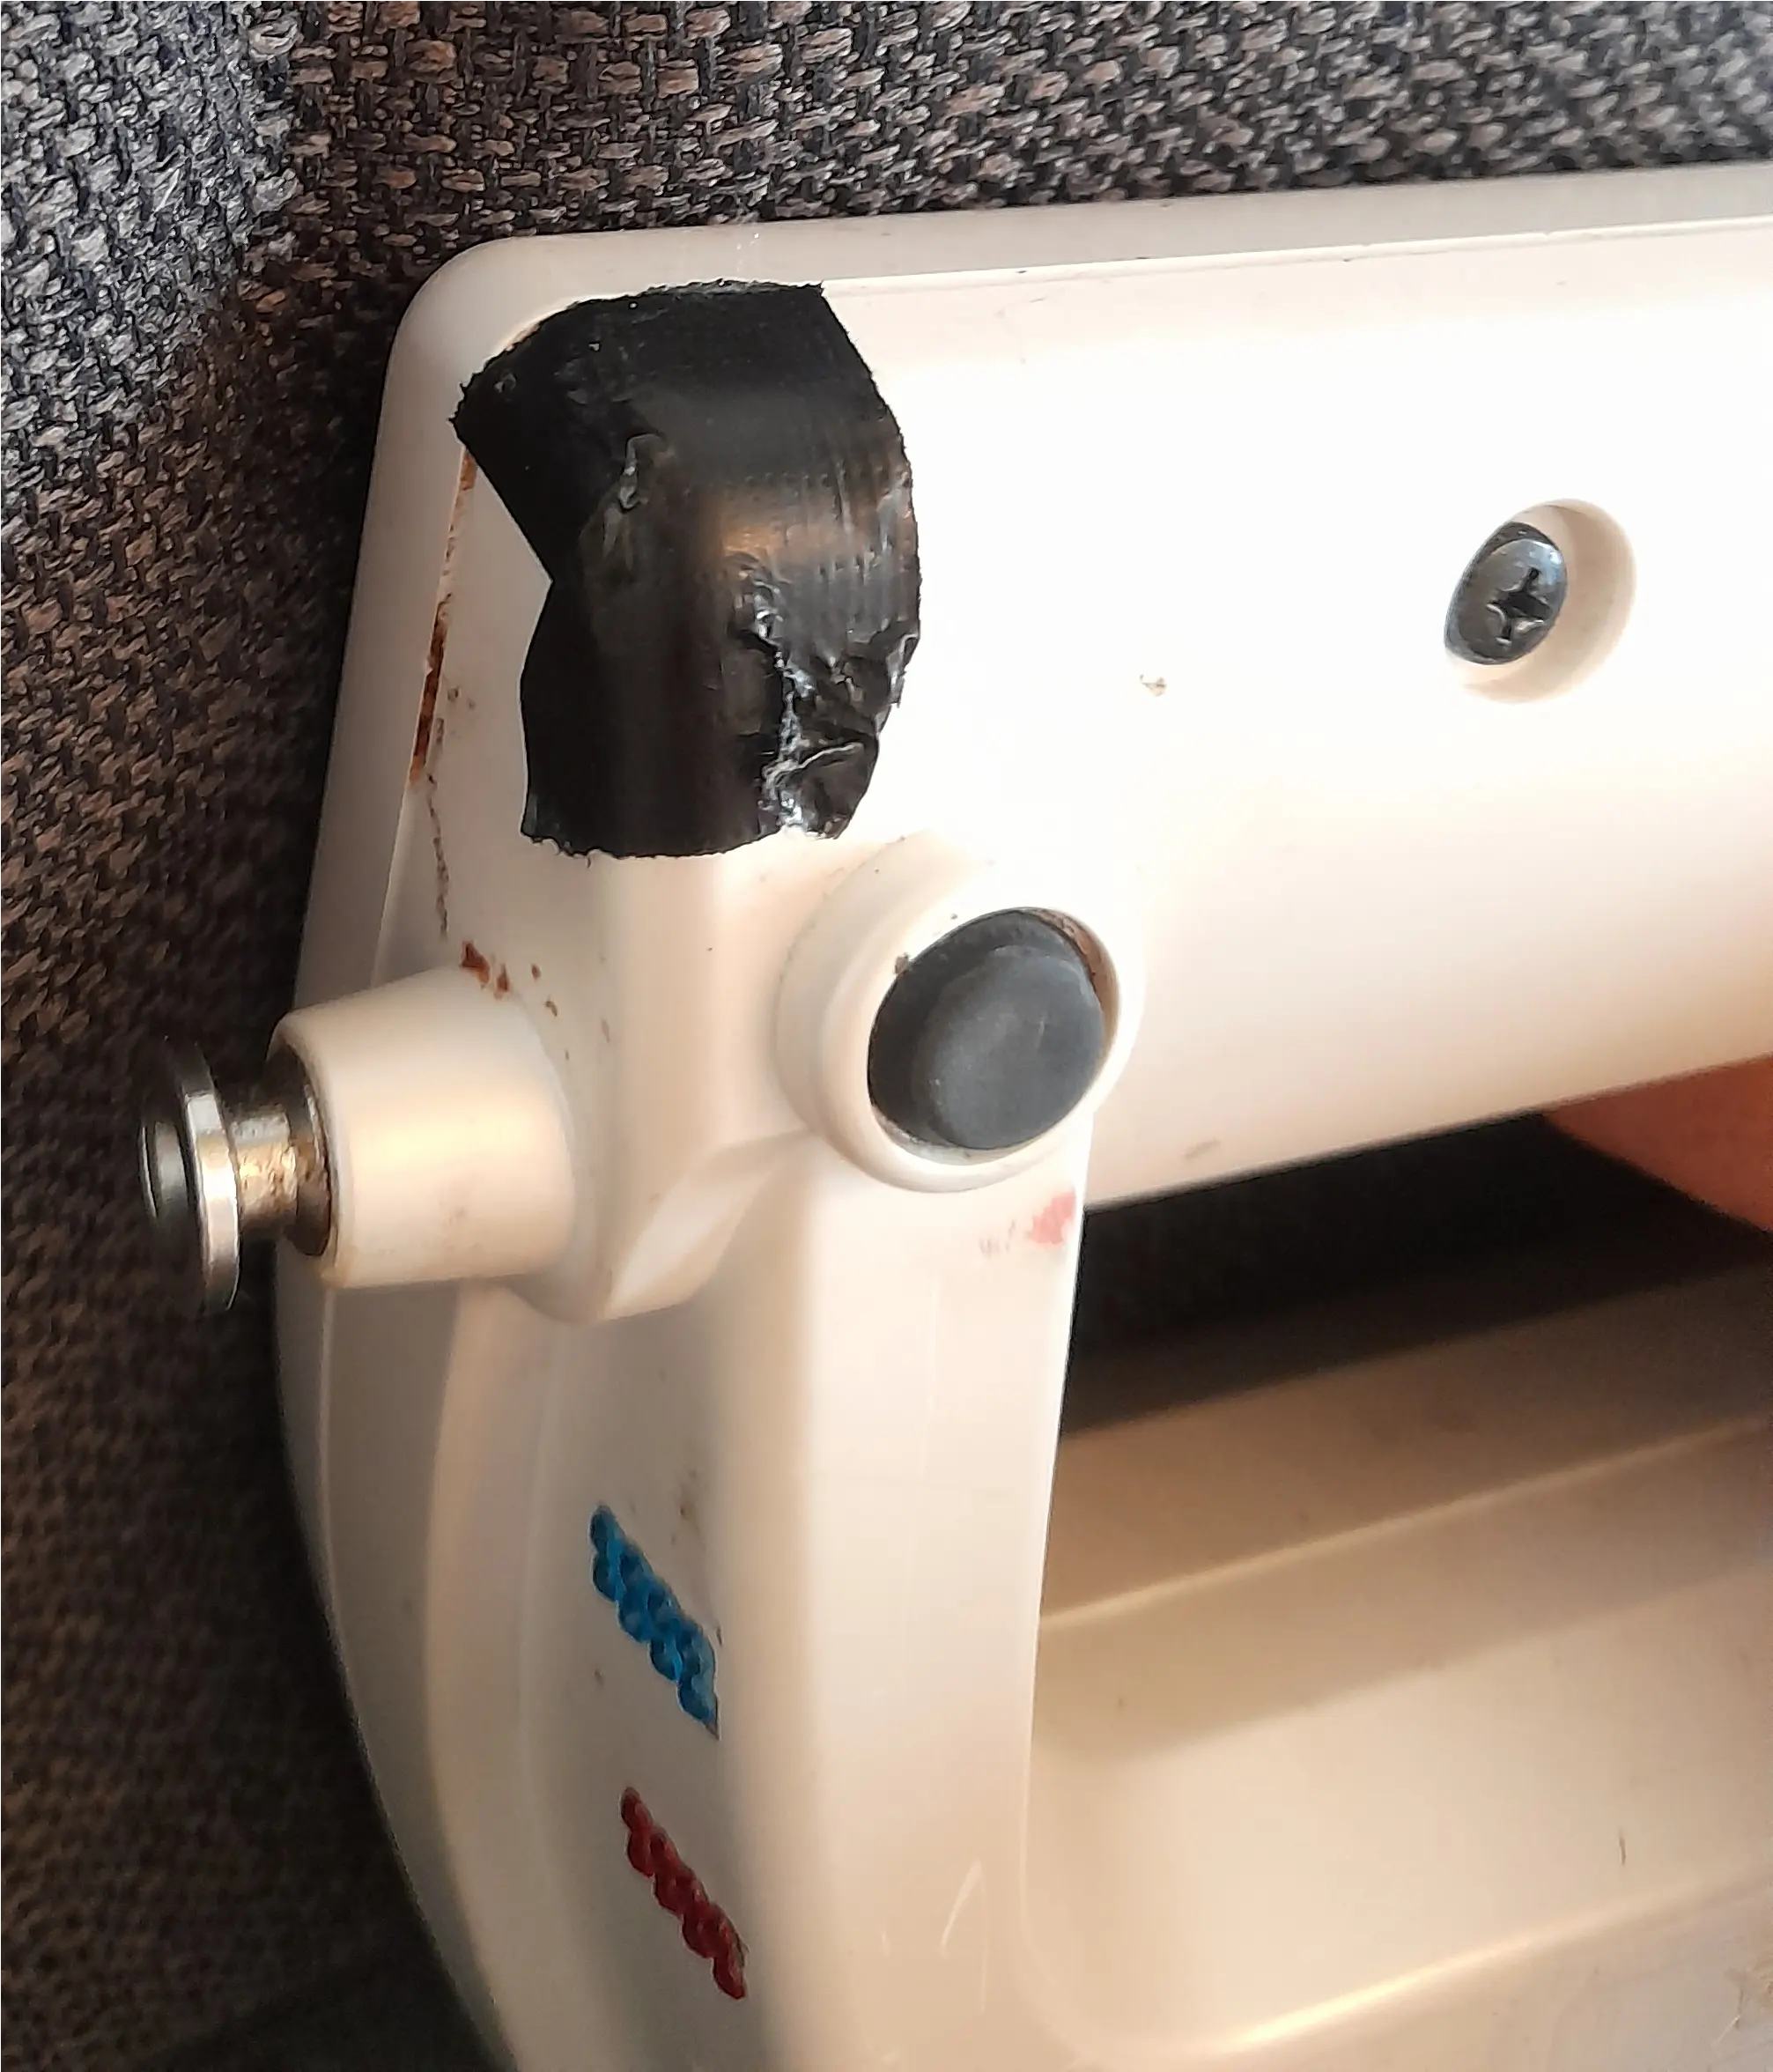
The keytar arrived pretty much in the state described by the seller with all functions working except stereo output and button '6' which selects the guitar voices not working, the case in overall good condition, a piece of tape over a chipped-off corner and those gemstone ornaments.
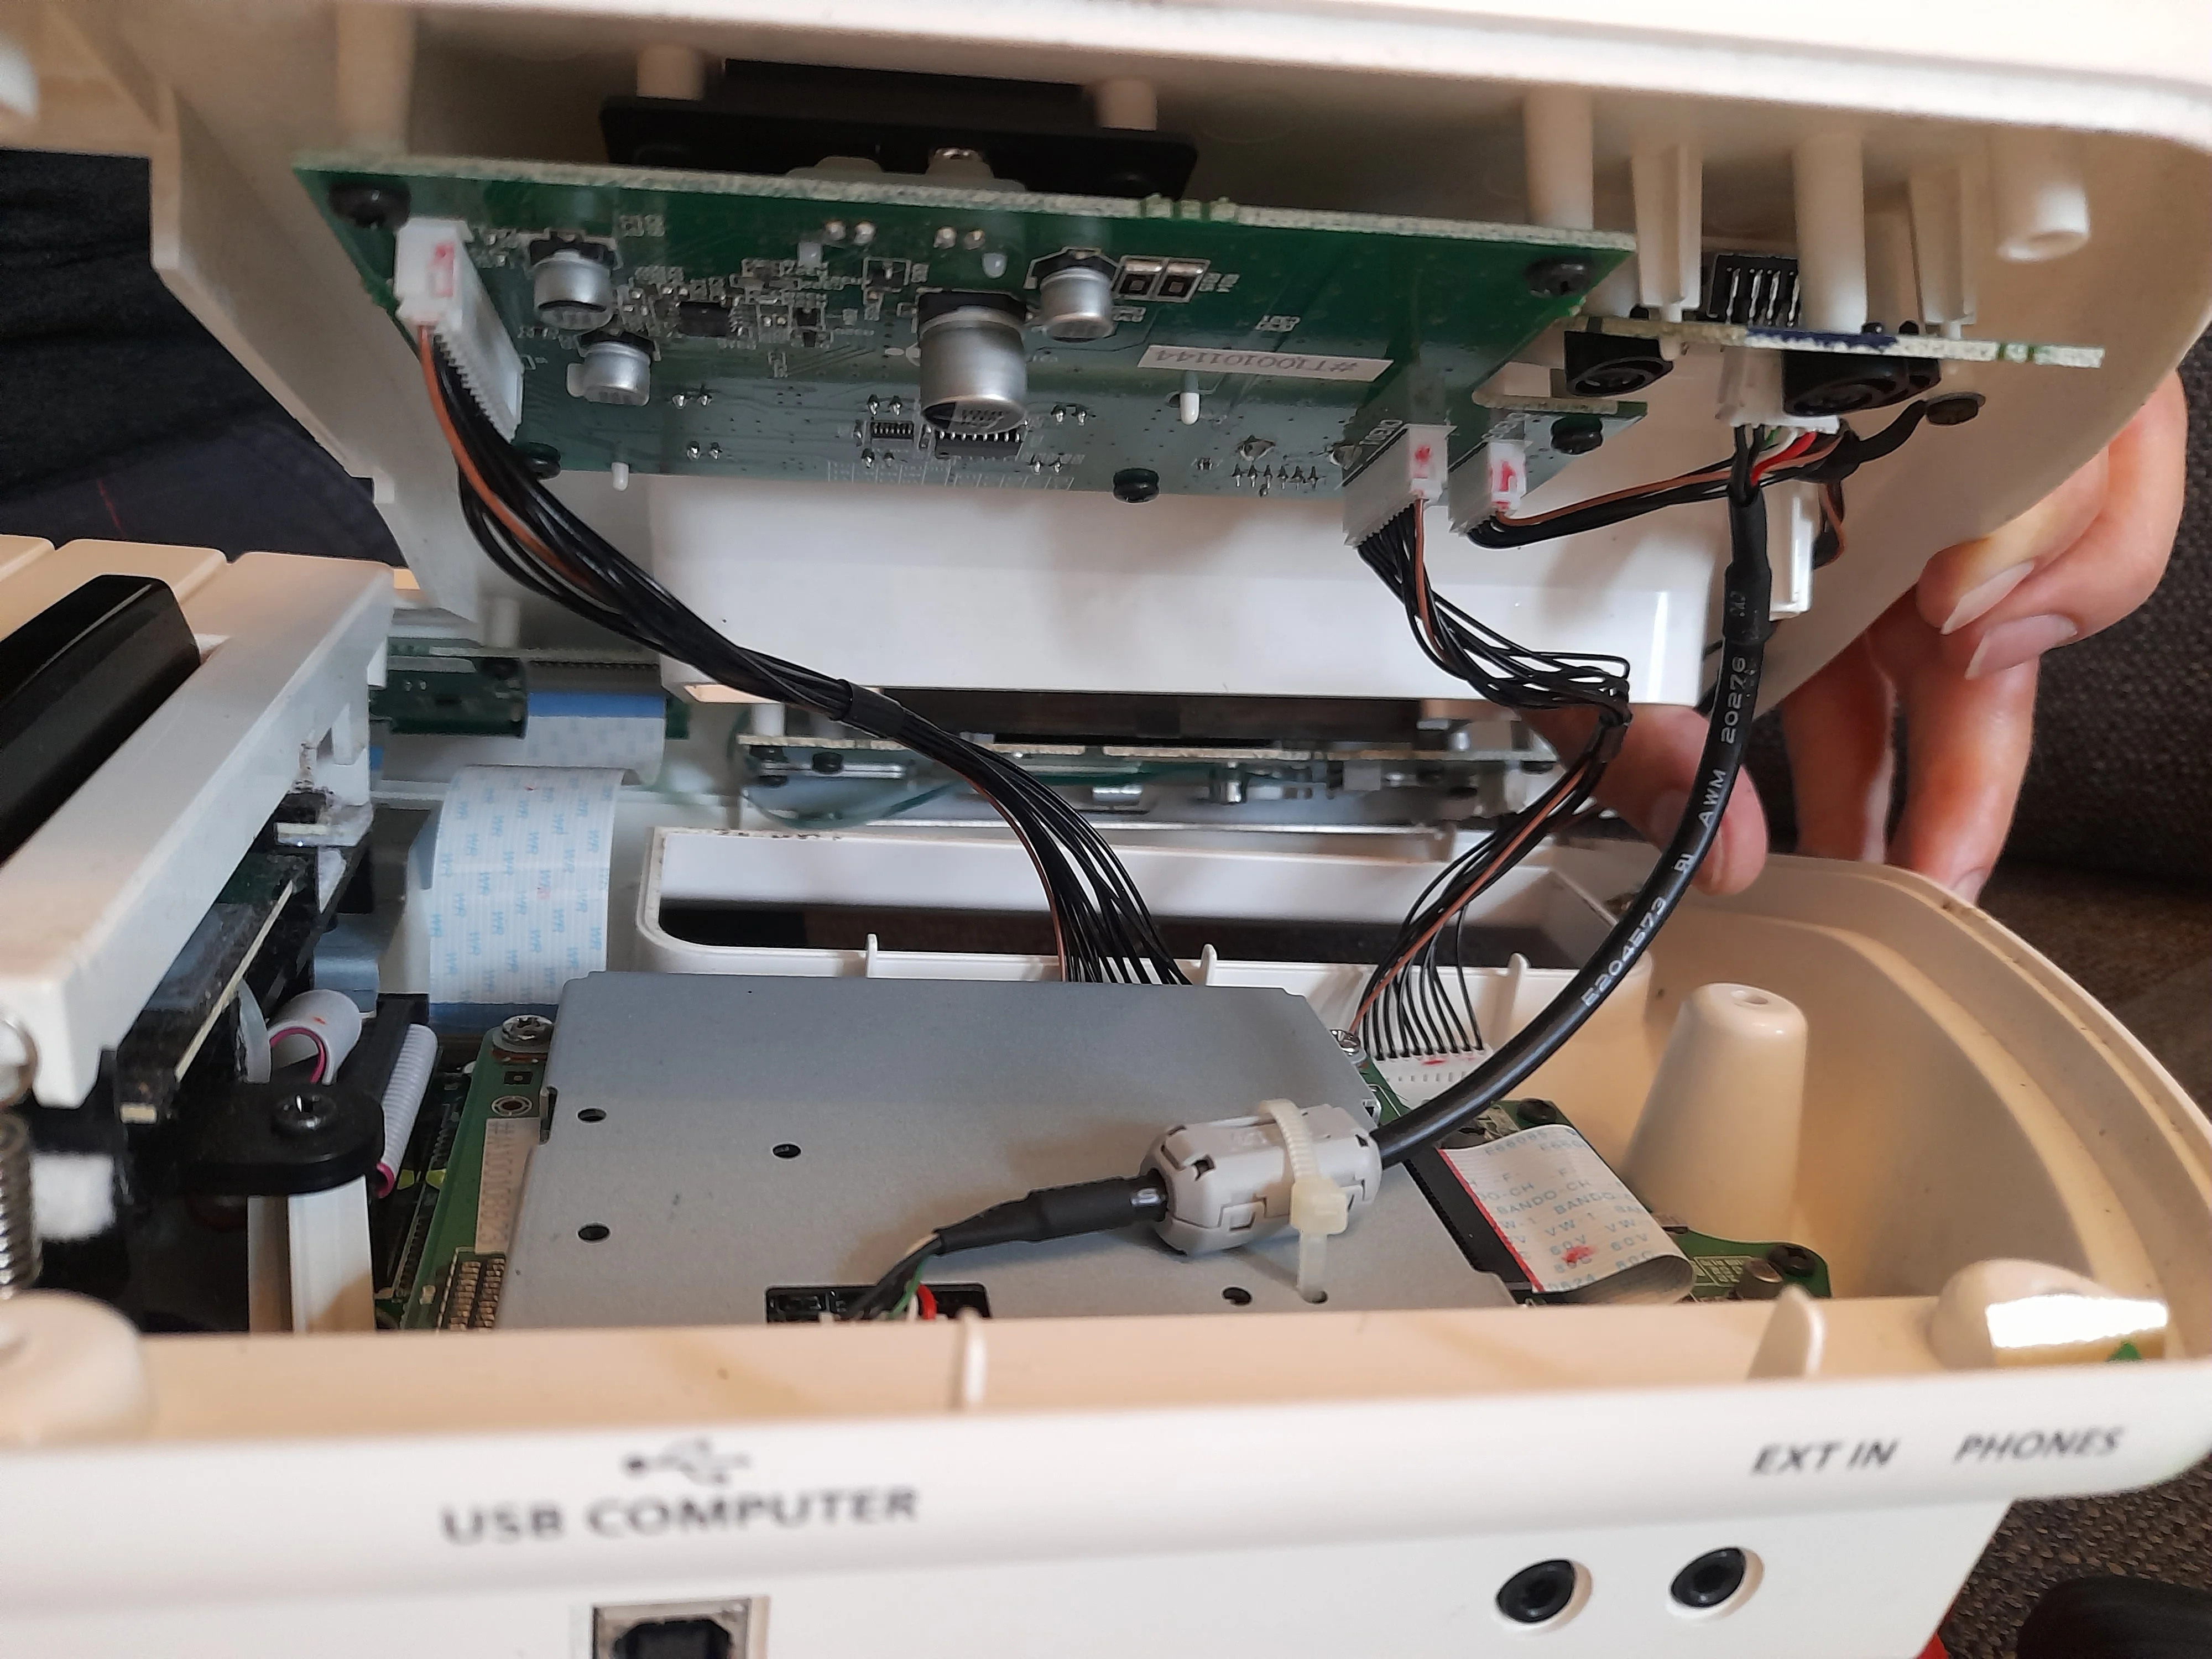
There are three cables to unplug to separate the two halves.

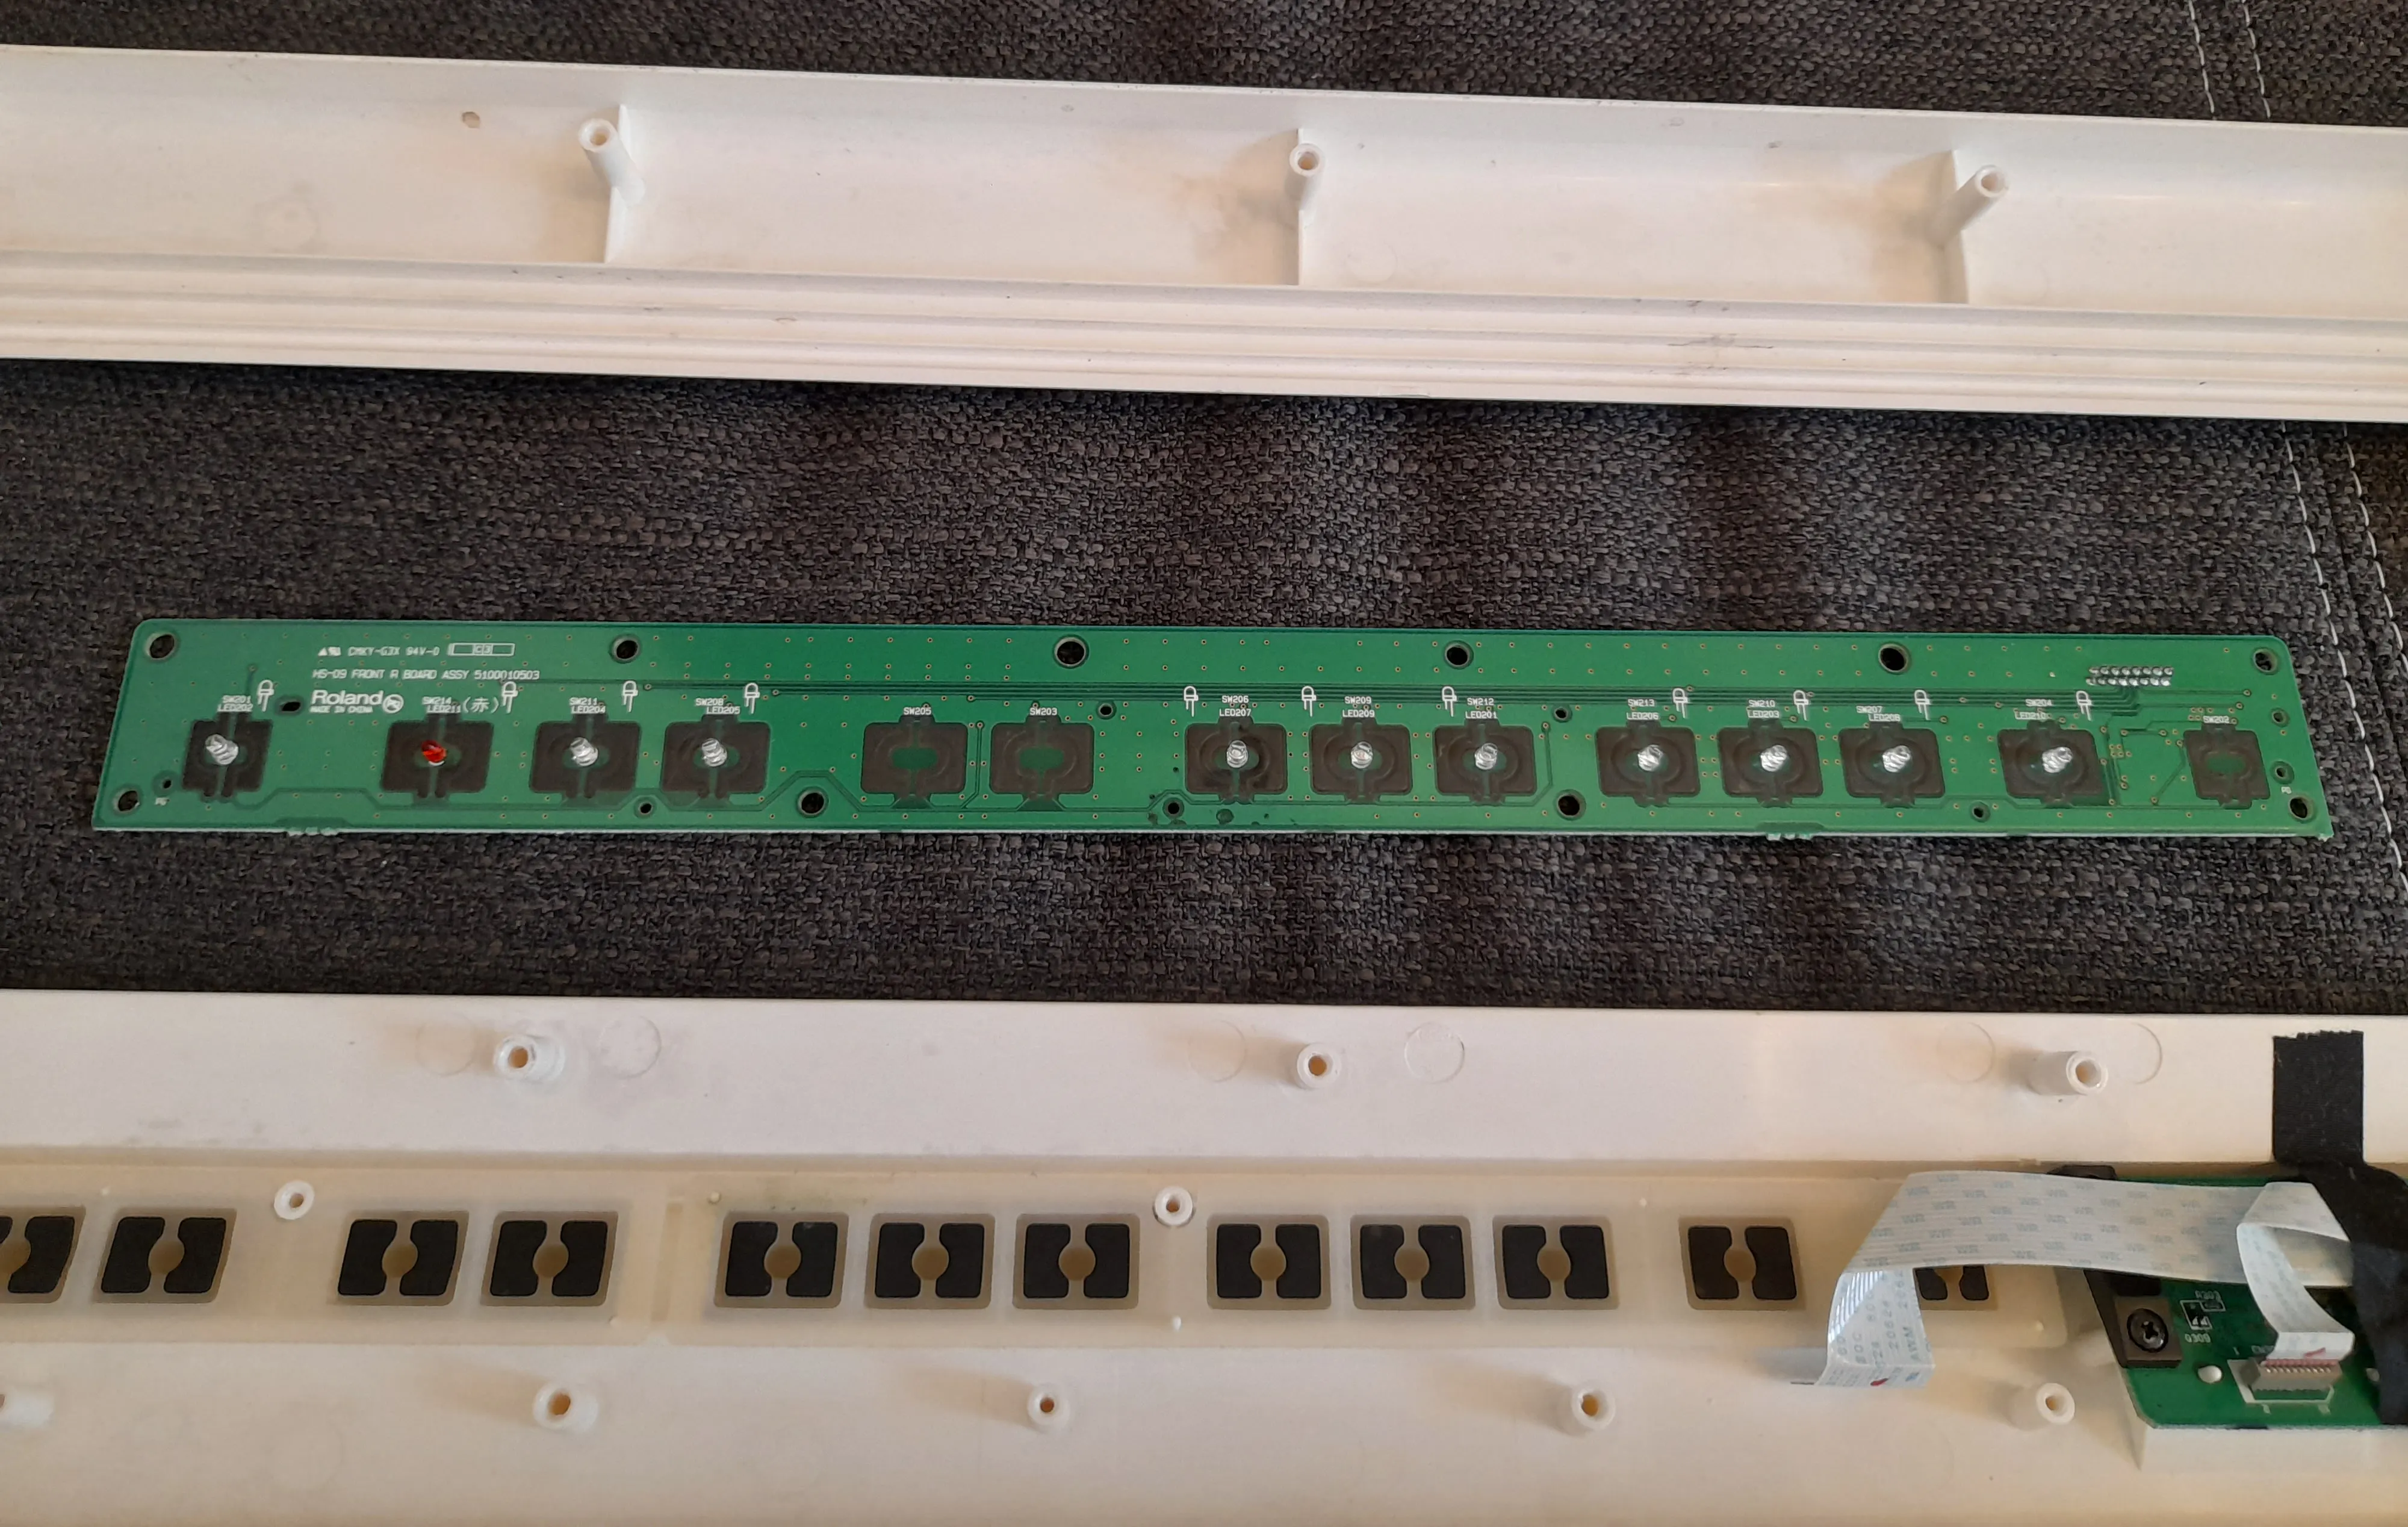
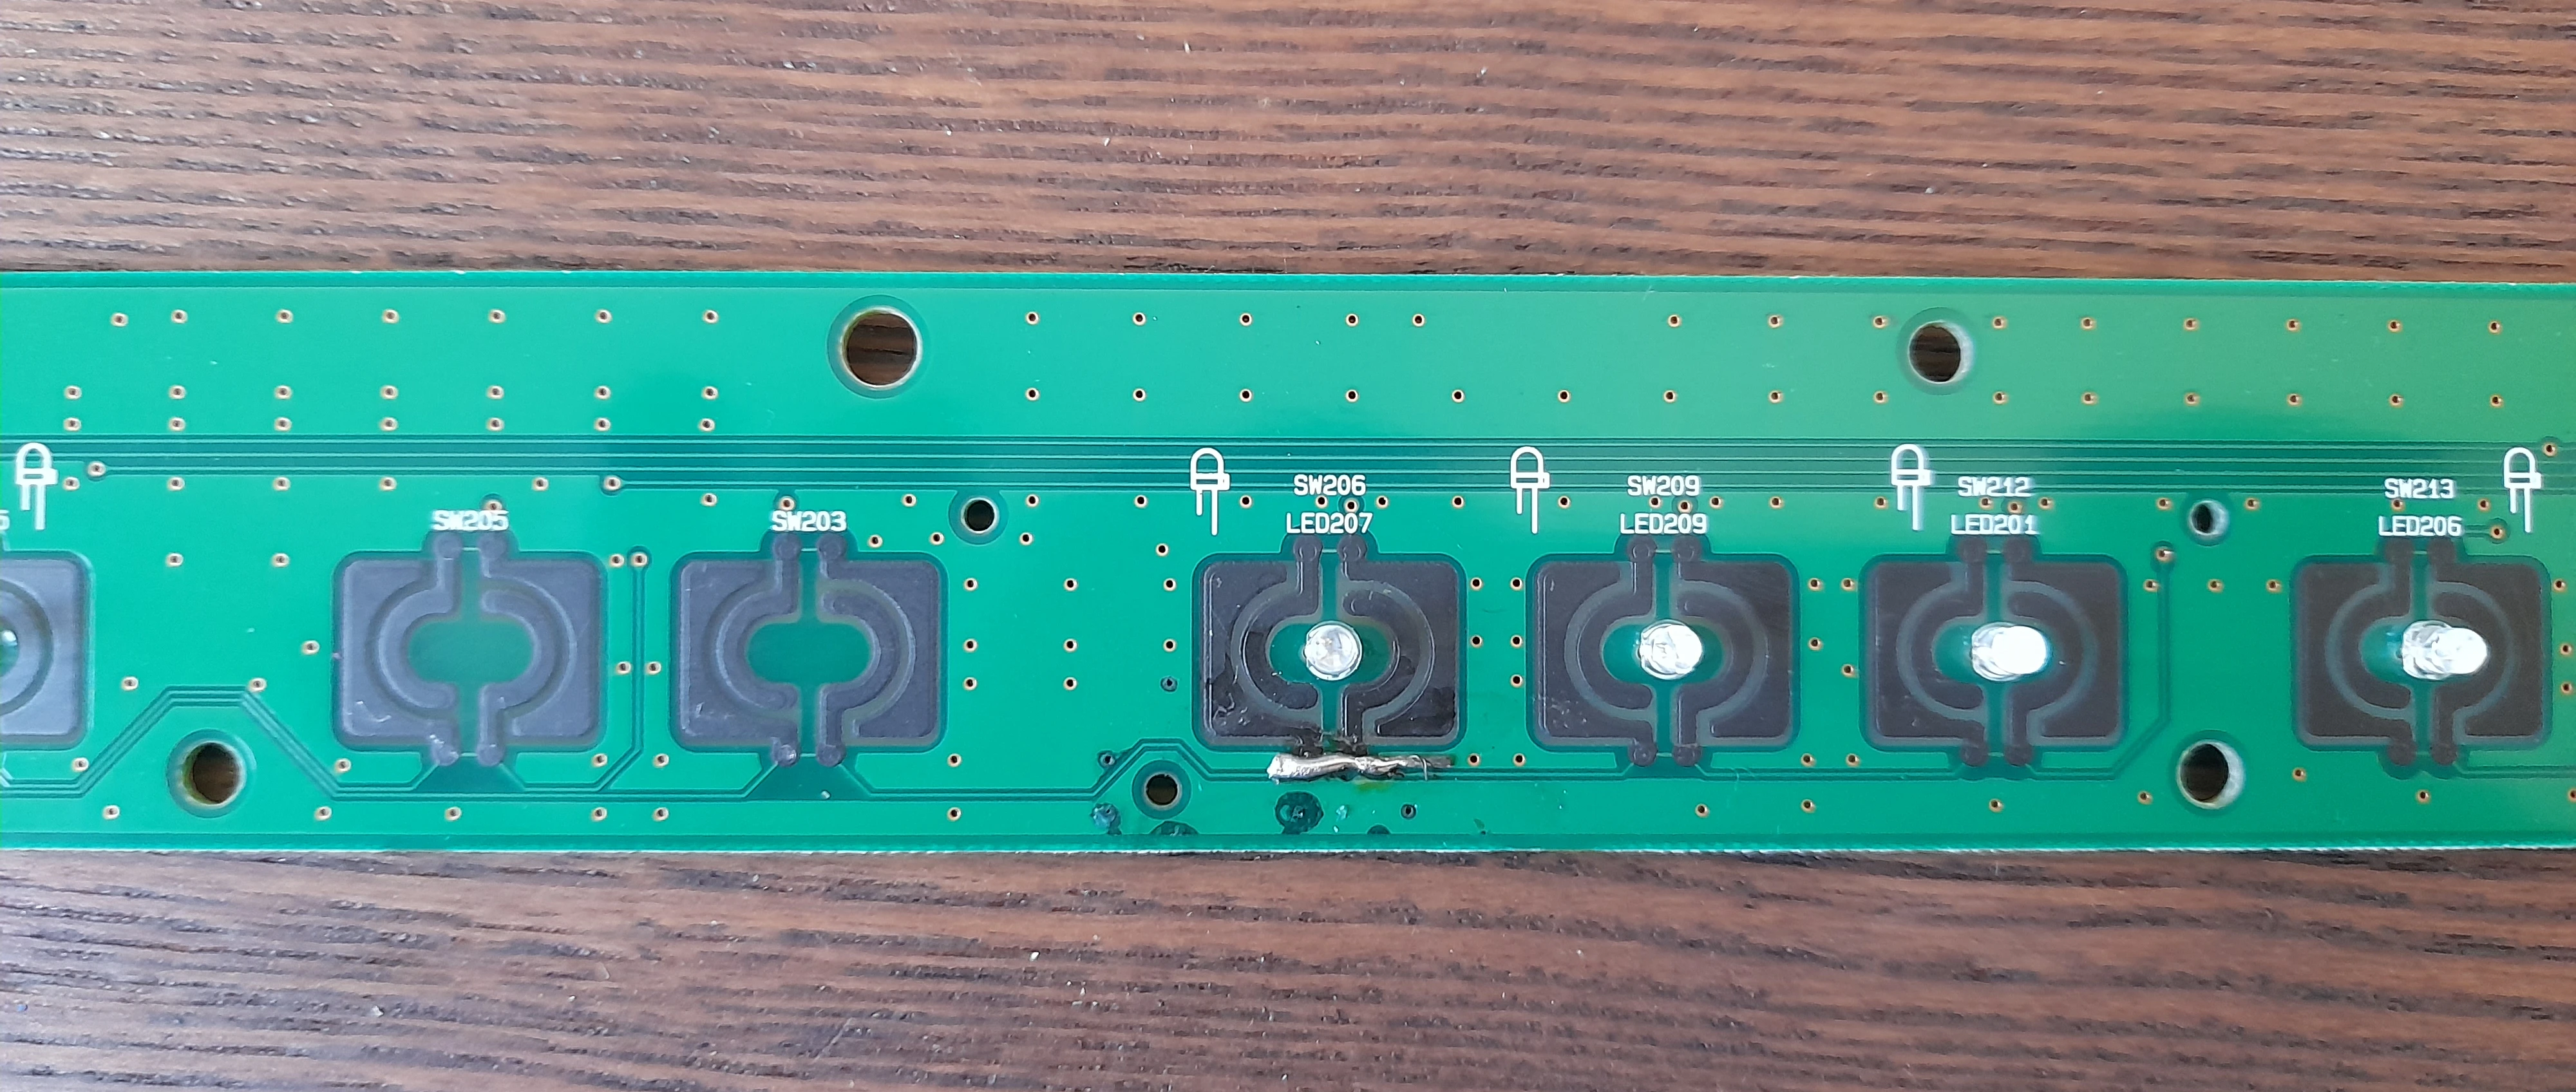
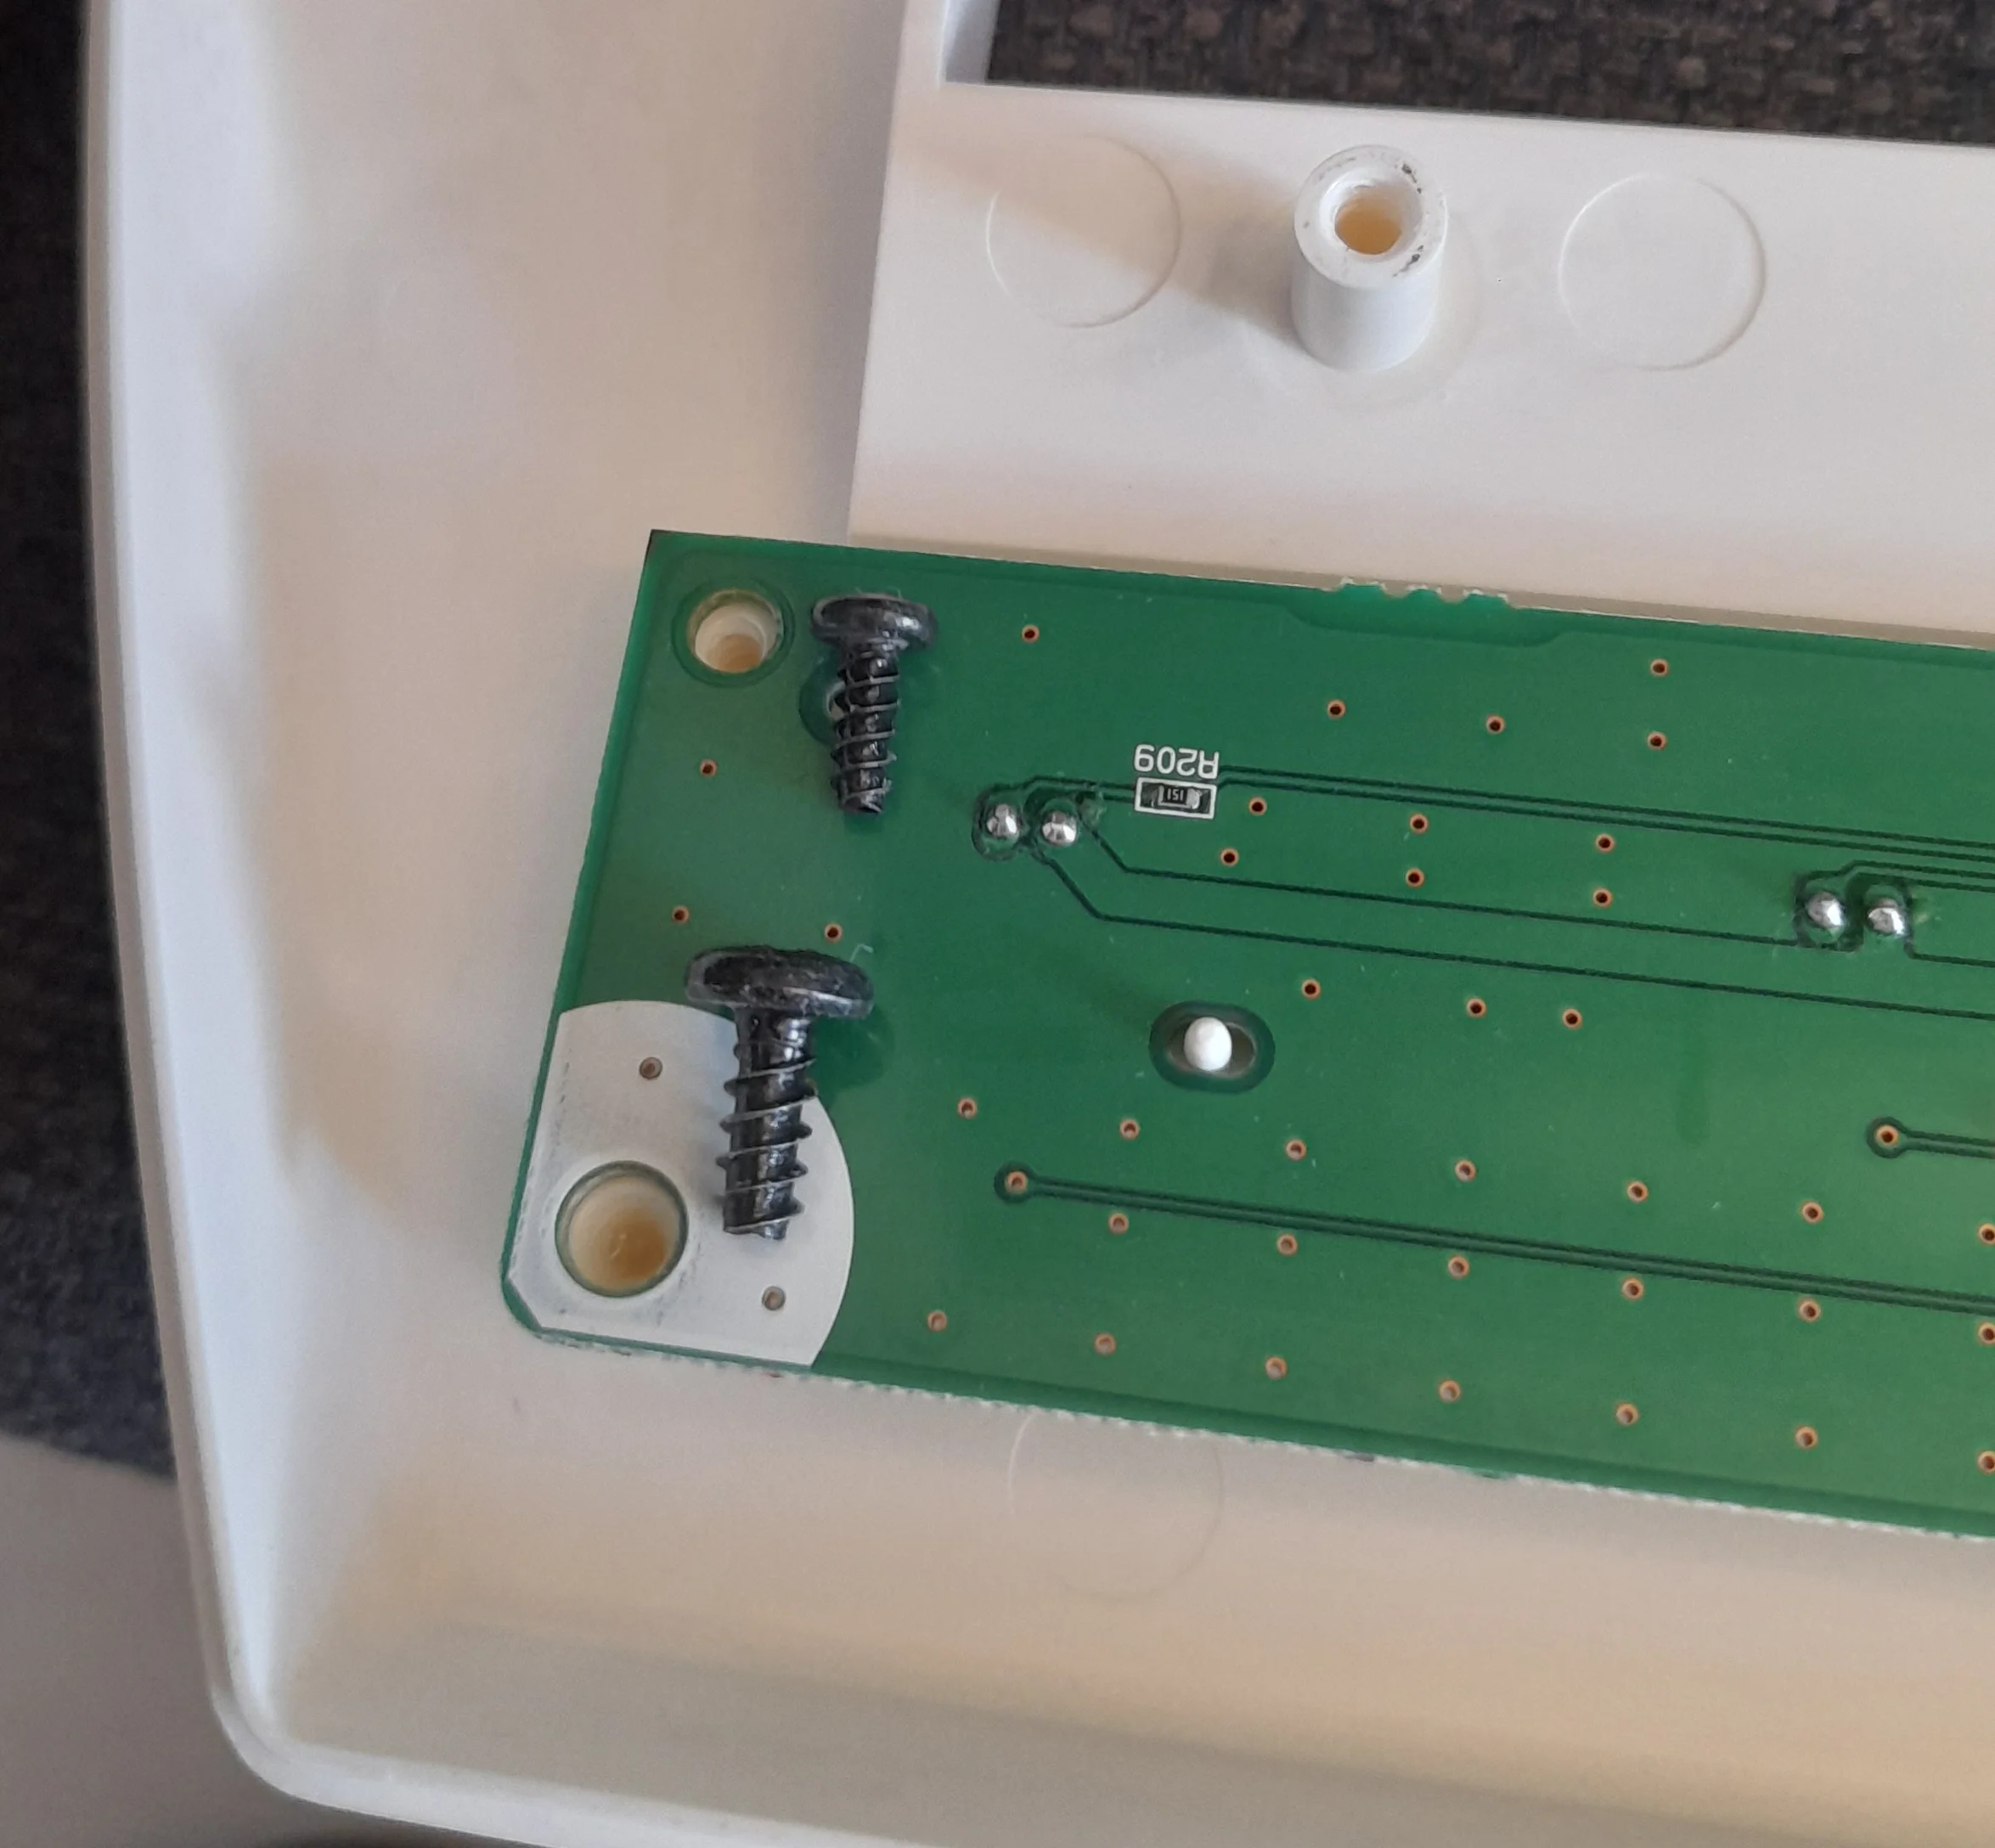
The top half has the PCB with the faulty button 6.
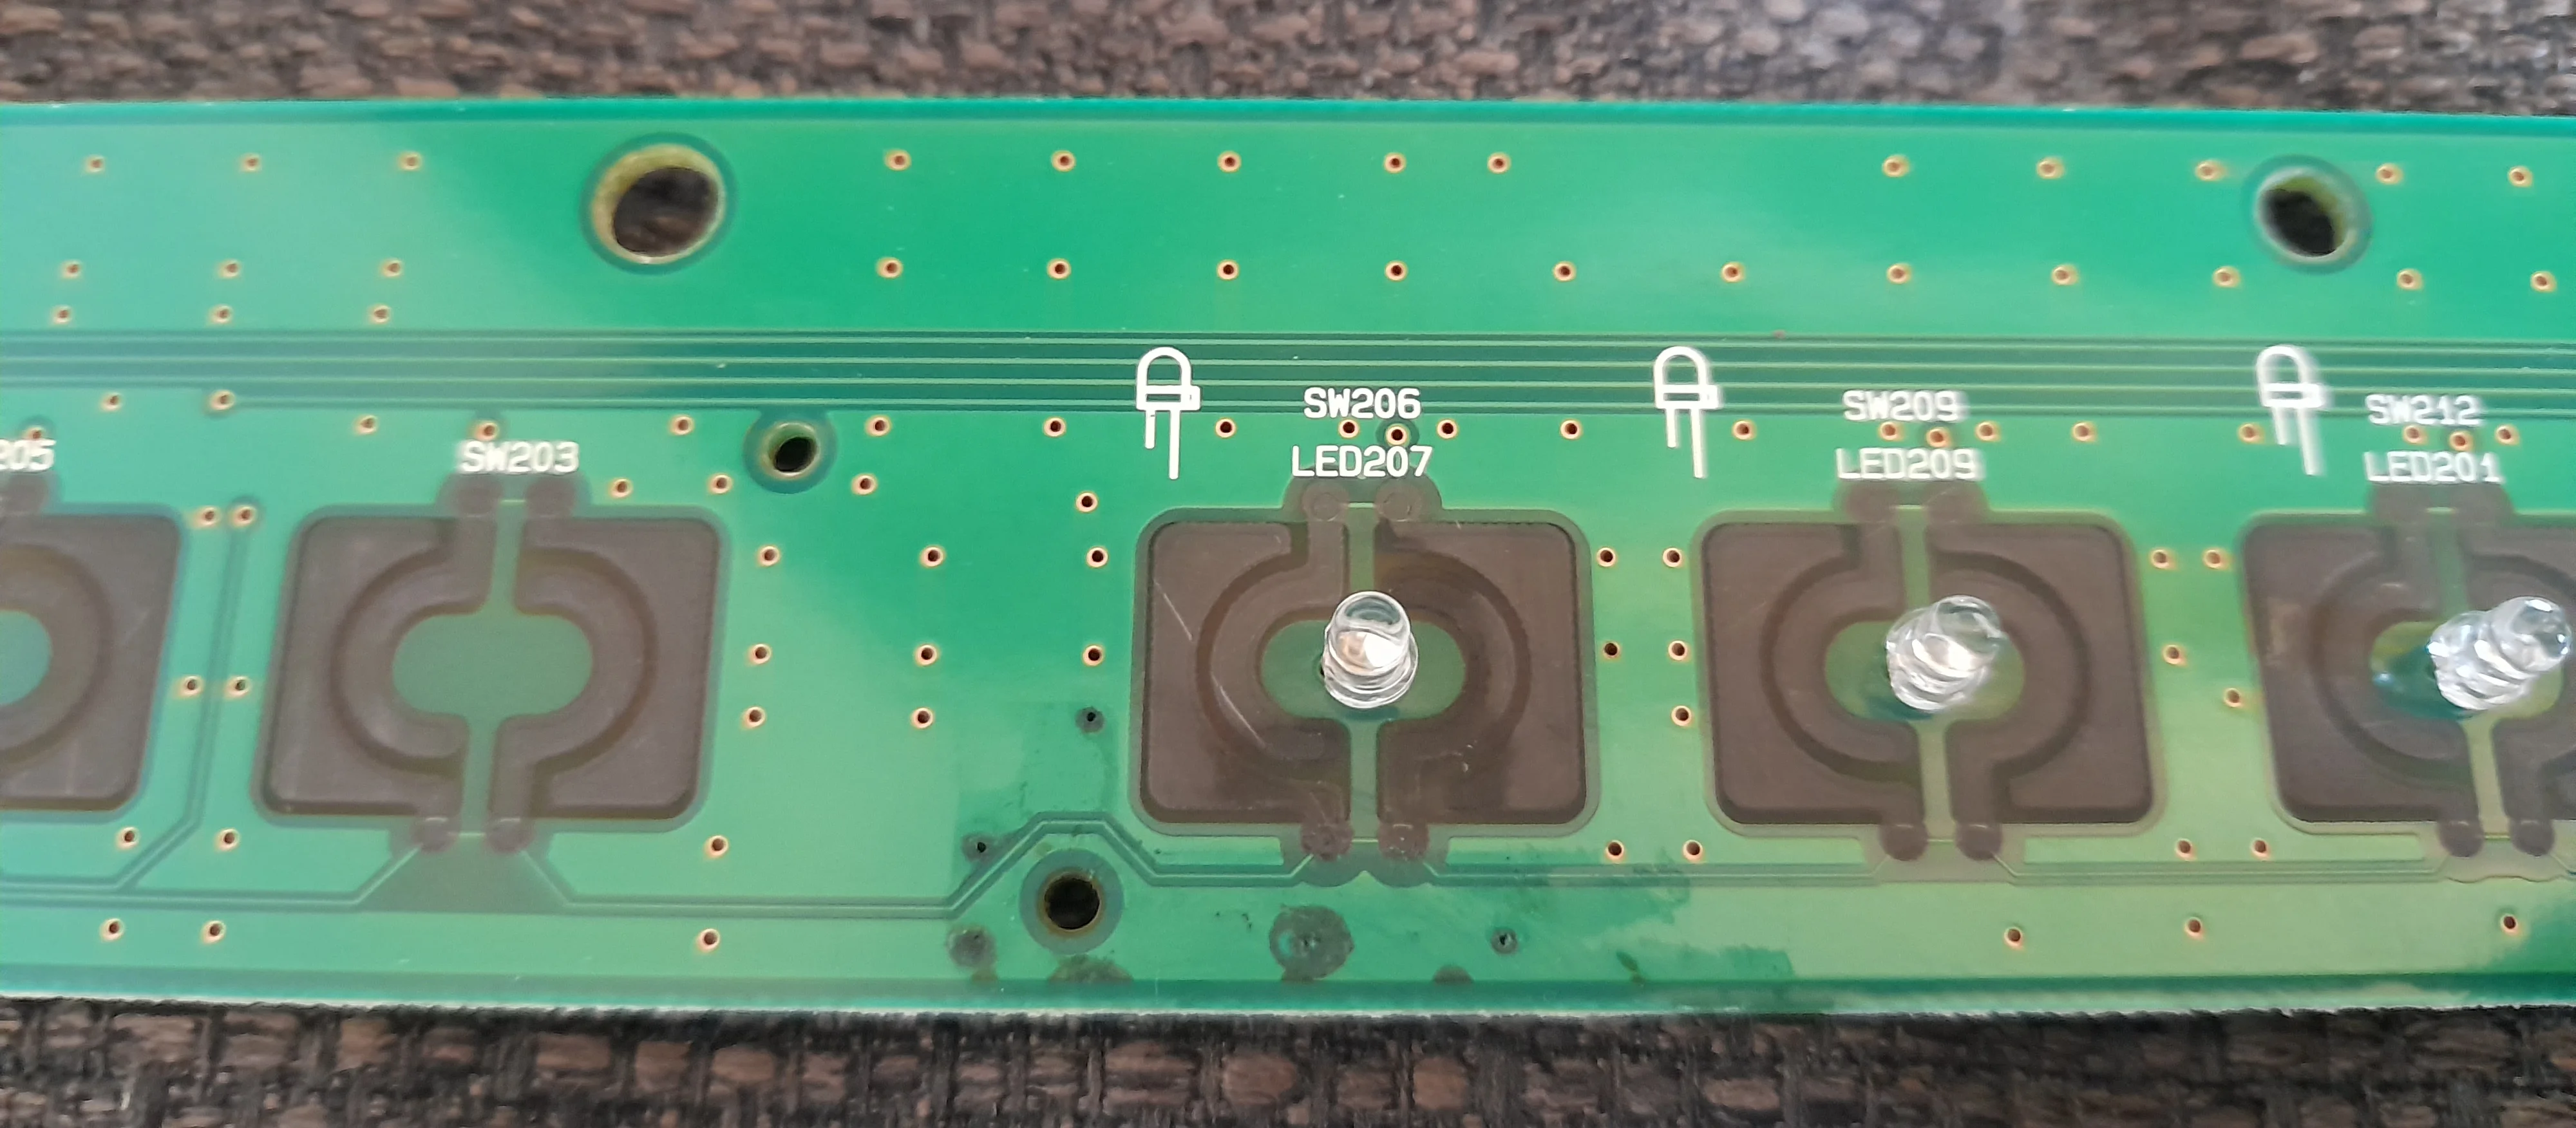
Some corrosion around the switch pad (marked SW206) was visible. The outer carbon pads were in fact not connected to the copper trace below.
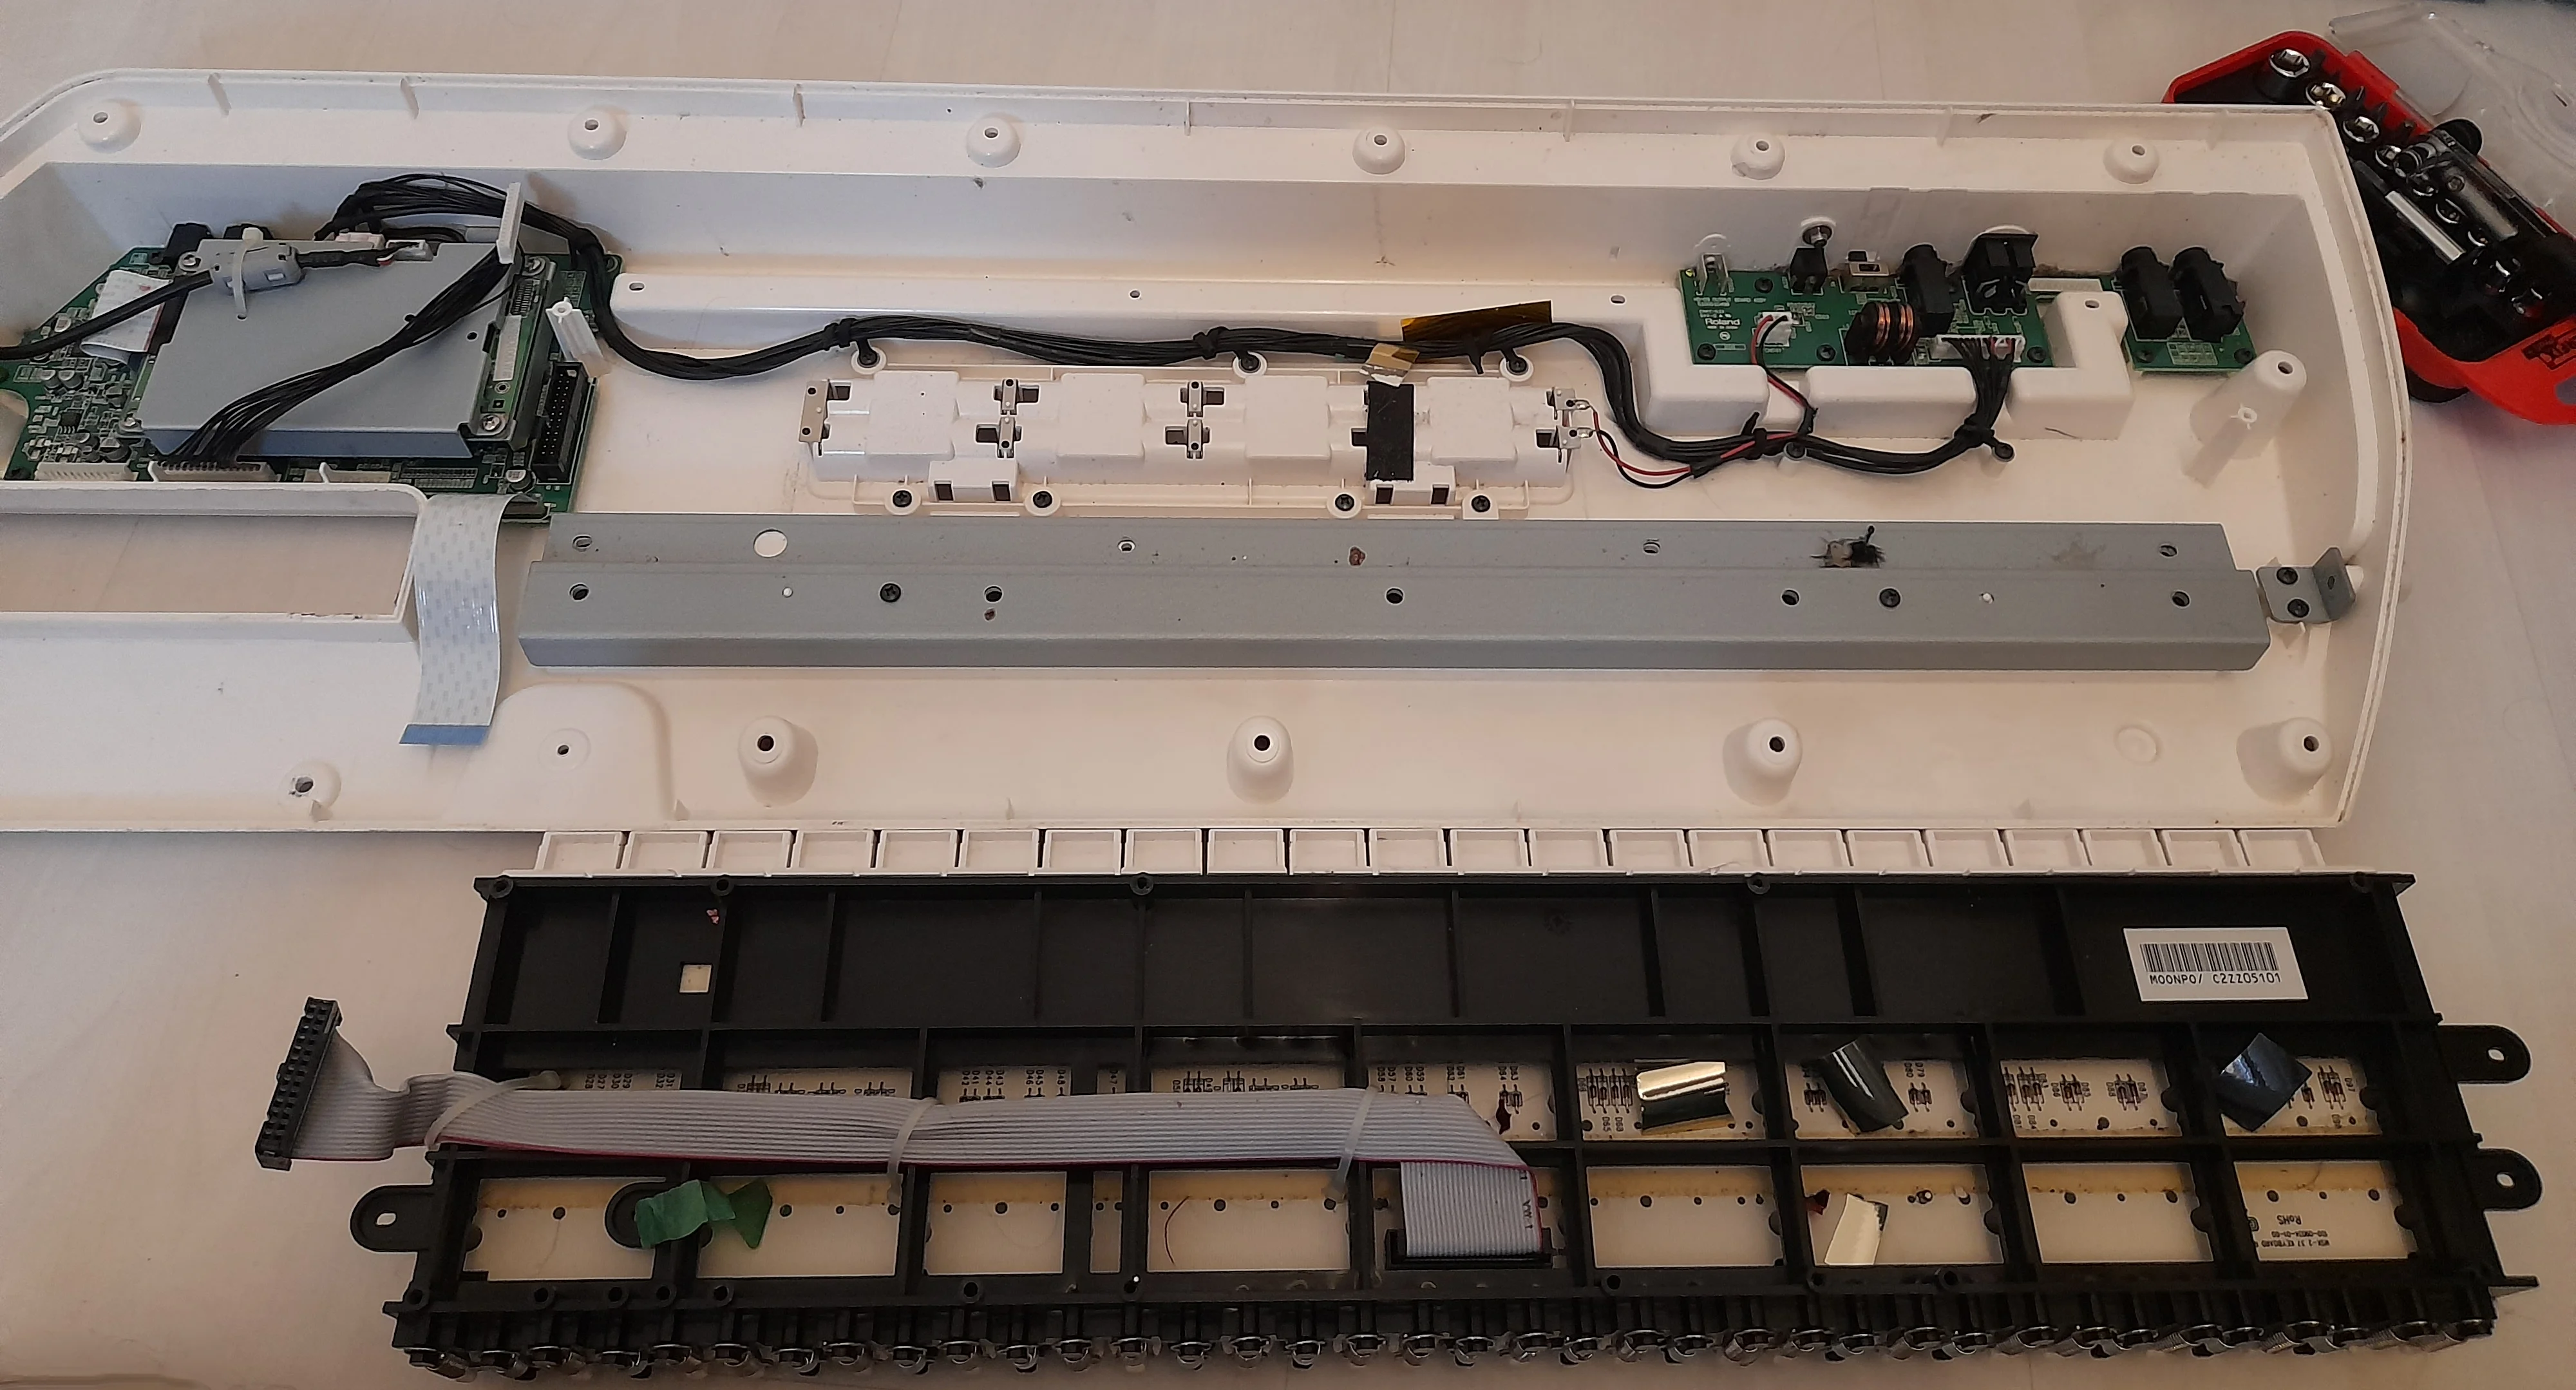
The bottom half holds the keyboard assembly (flipped on its top in the picture) and most of the electronics. The audio jack for the right channel was visibly damaged which was probably the reason there was only mono output through the 3.5mm headphone jack as well.
There was a lot of grime (and confetti) on the inside of the instrument, it had been well-used on stage after all. So I set on to fully dismantle it for cleaning.

Stripped off all electronics, the pieces of the shell went soaking in the bathtub.
The keys could be lifted off the keyboard assembly by removing the springs at the back.
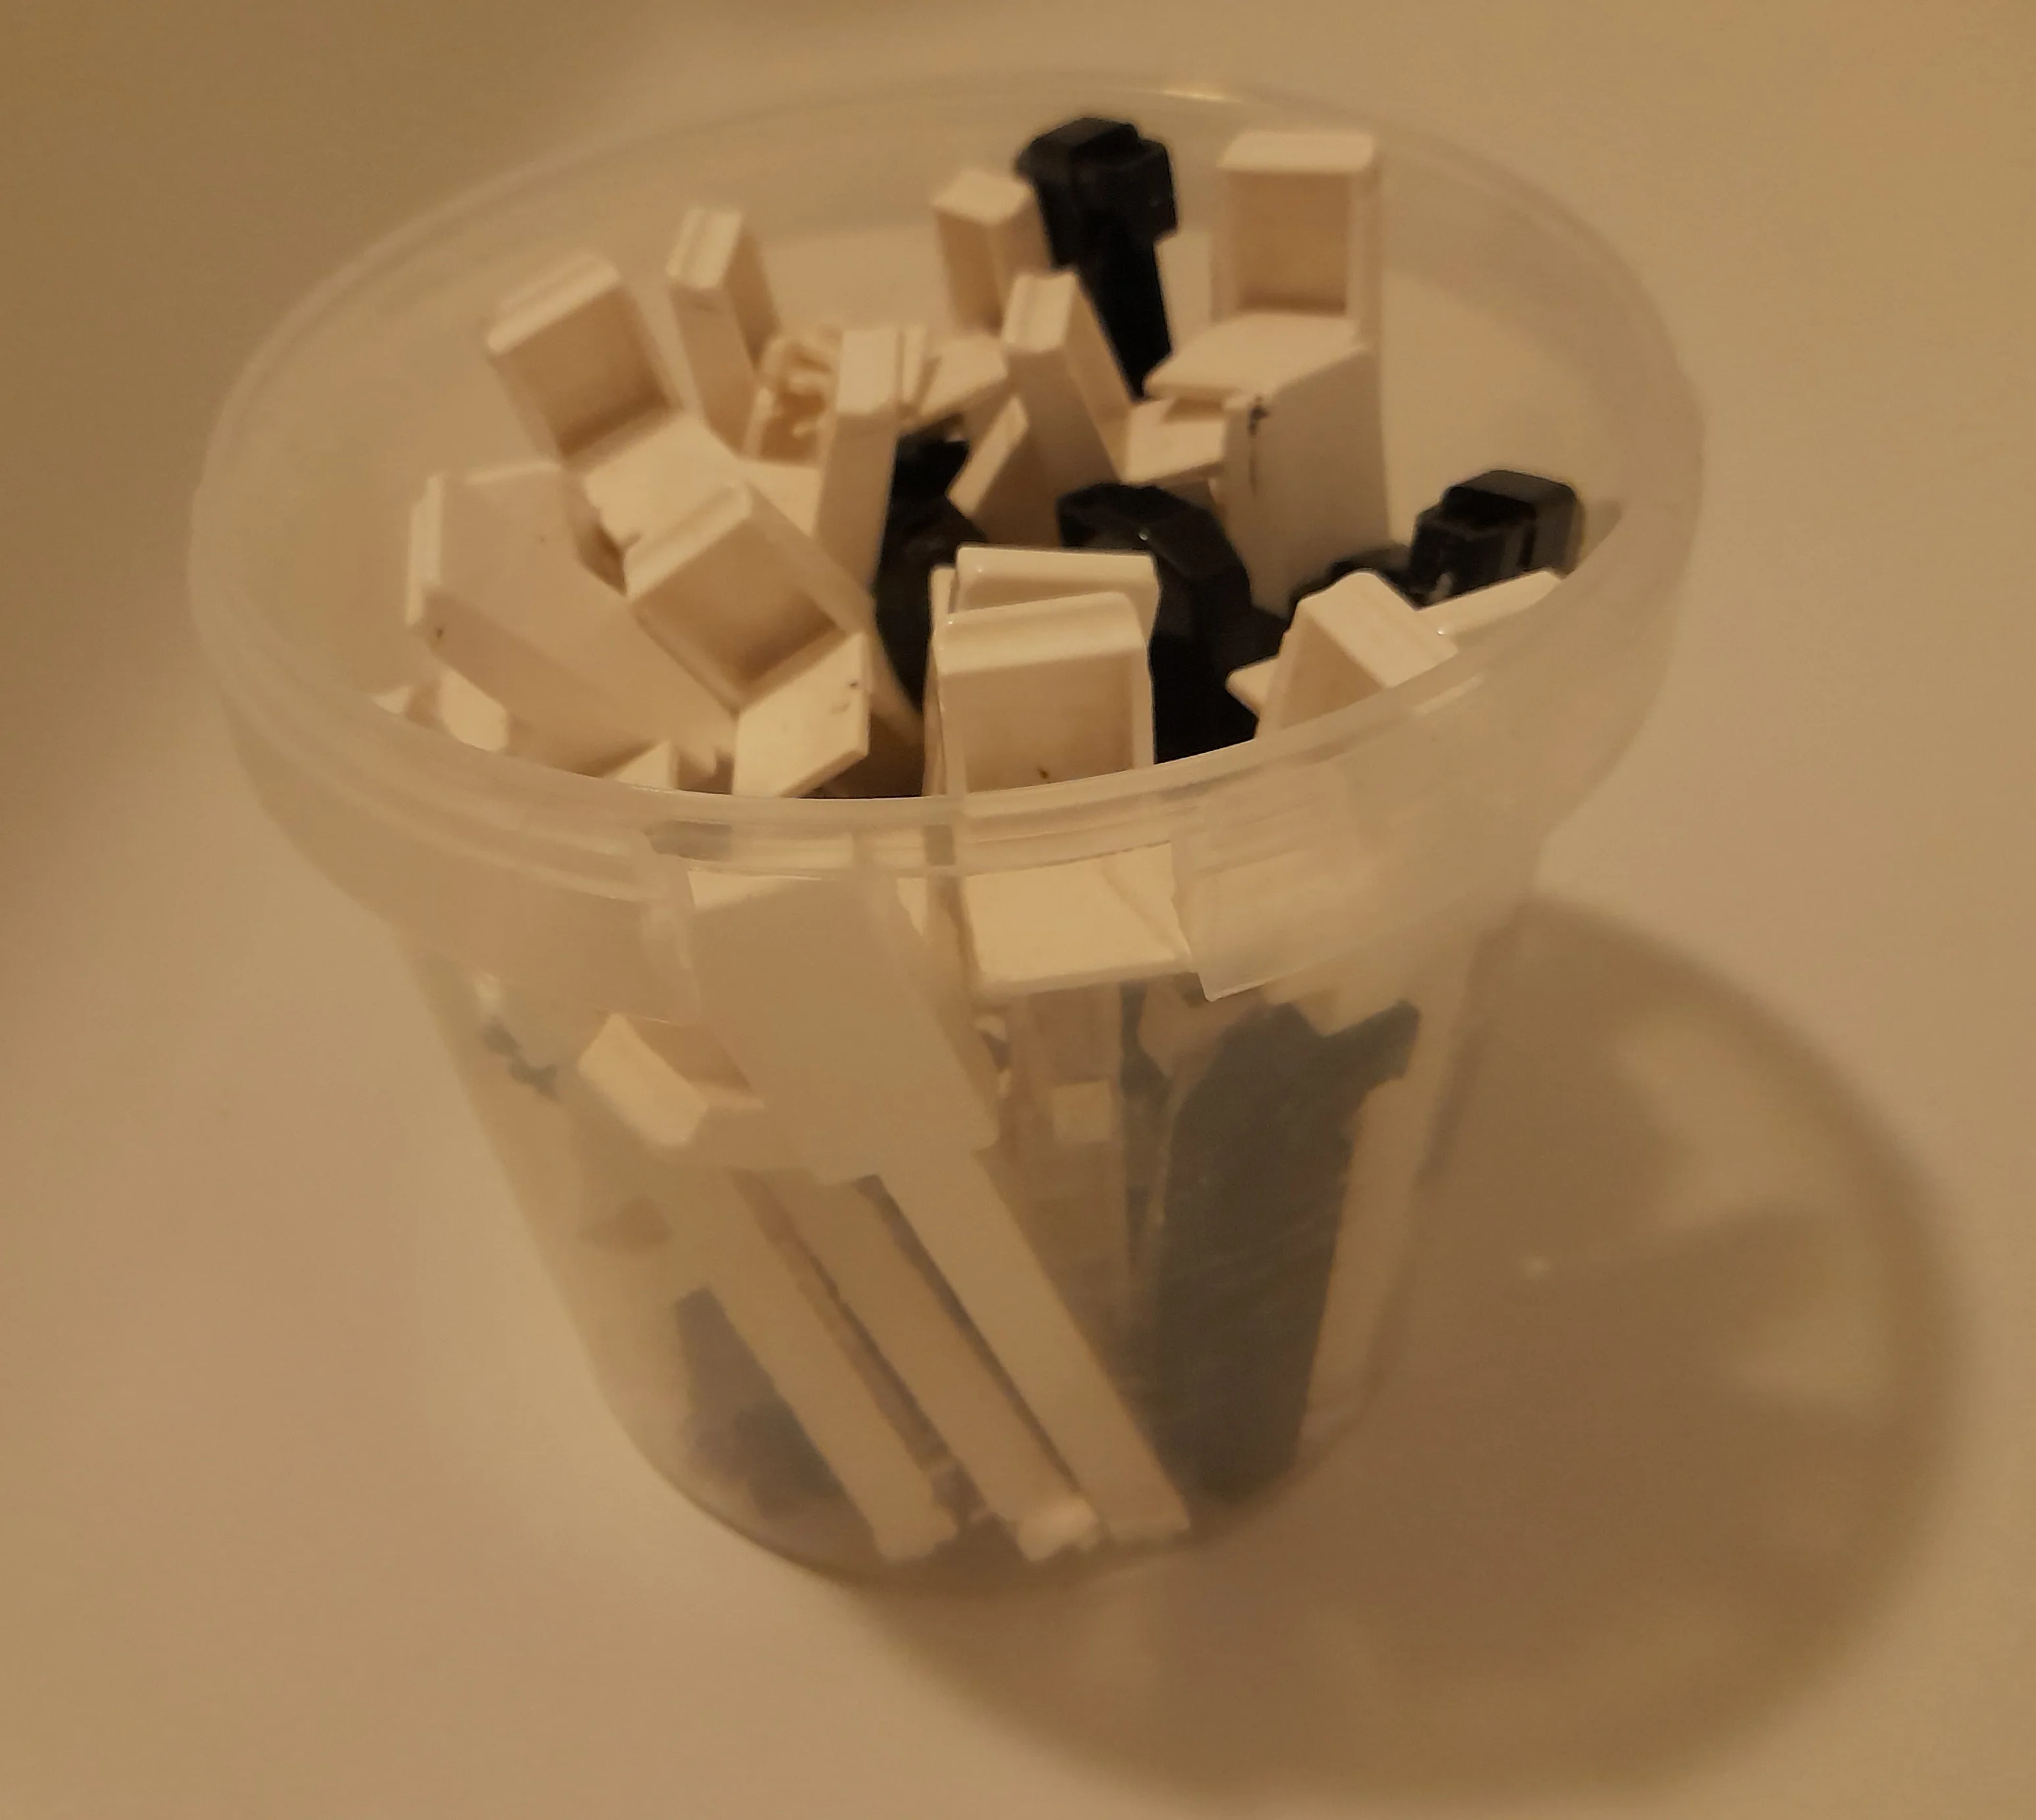
And so they went into this little bucket to soak in soap water as well.
After a while in soapy water I proceeded to clean the shell pieces and the keys using a sponge, a toothbrush, and more detergent. This was the most laborious task of the project as I wanted everything to be as new-looking as possible. Using some adhesive remover and a knife, I removed the gemstone ornaments more or less cleanly.
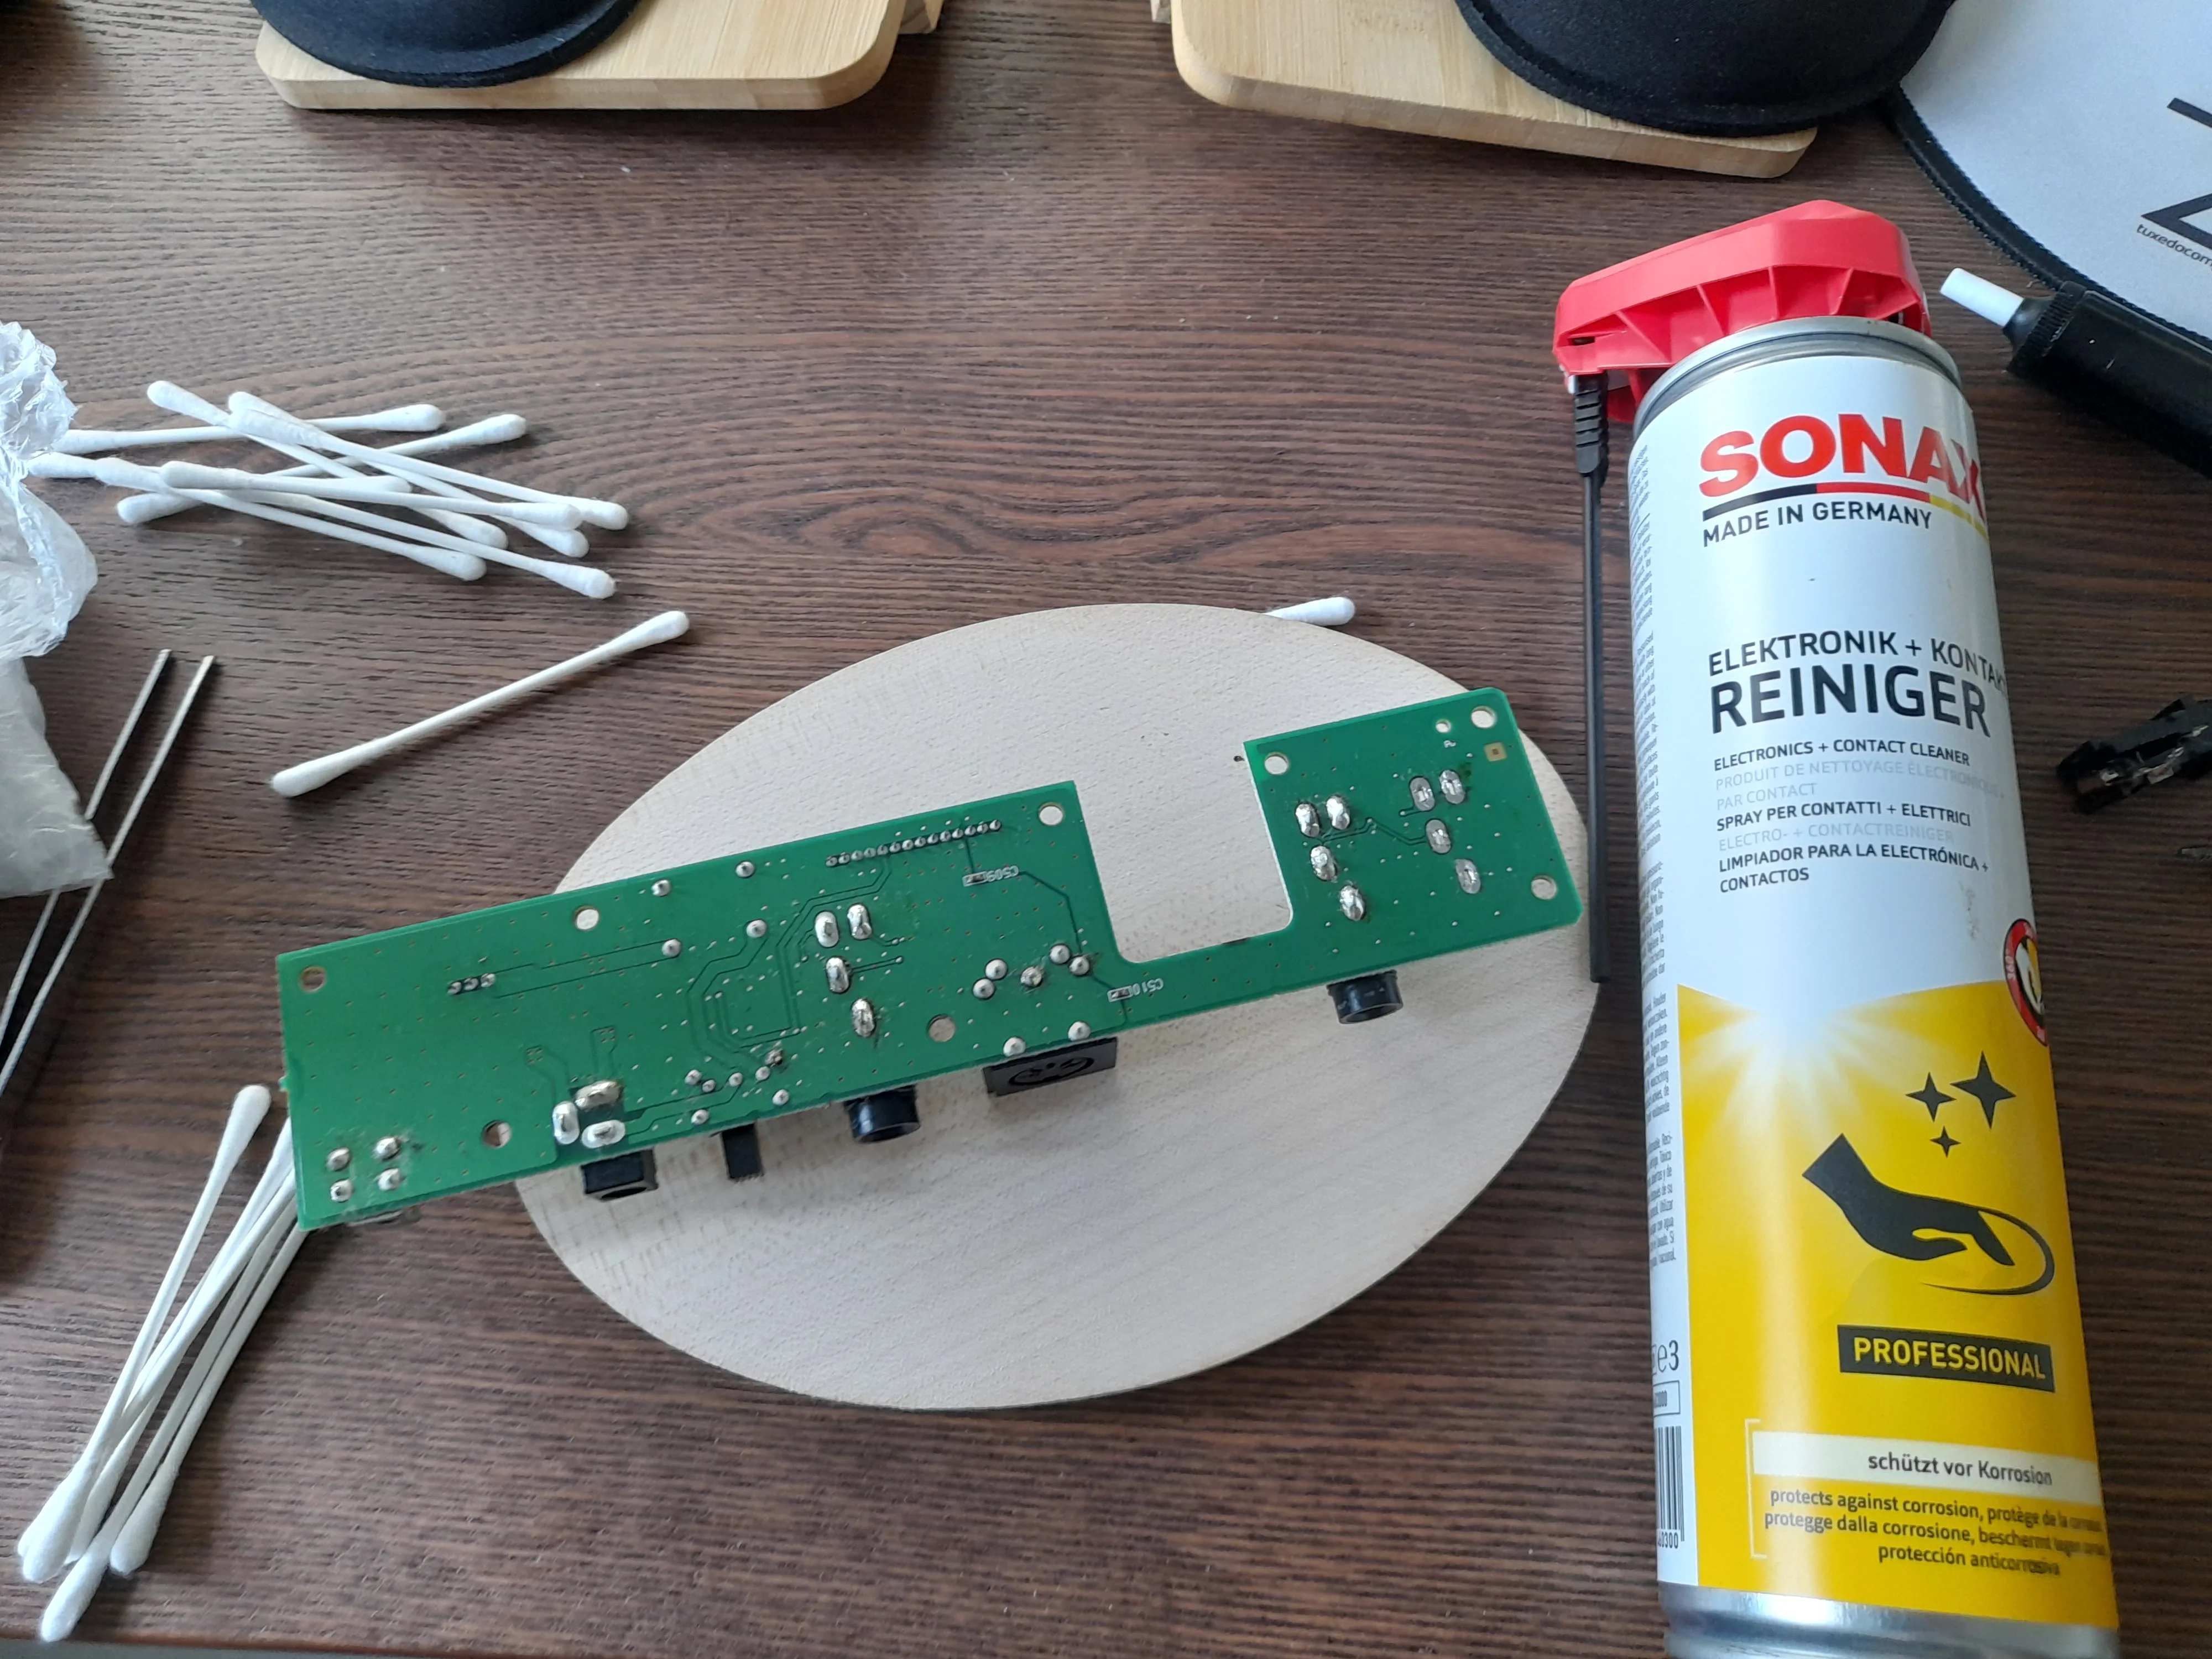
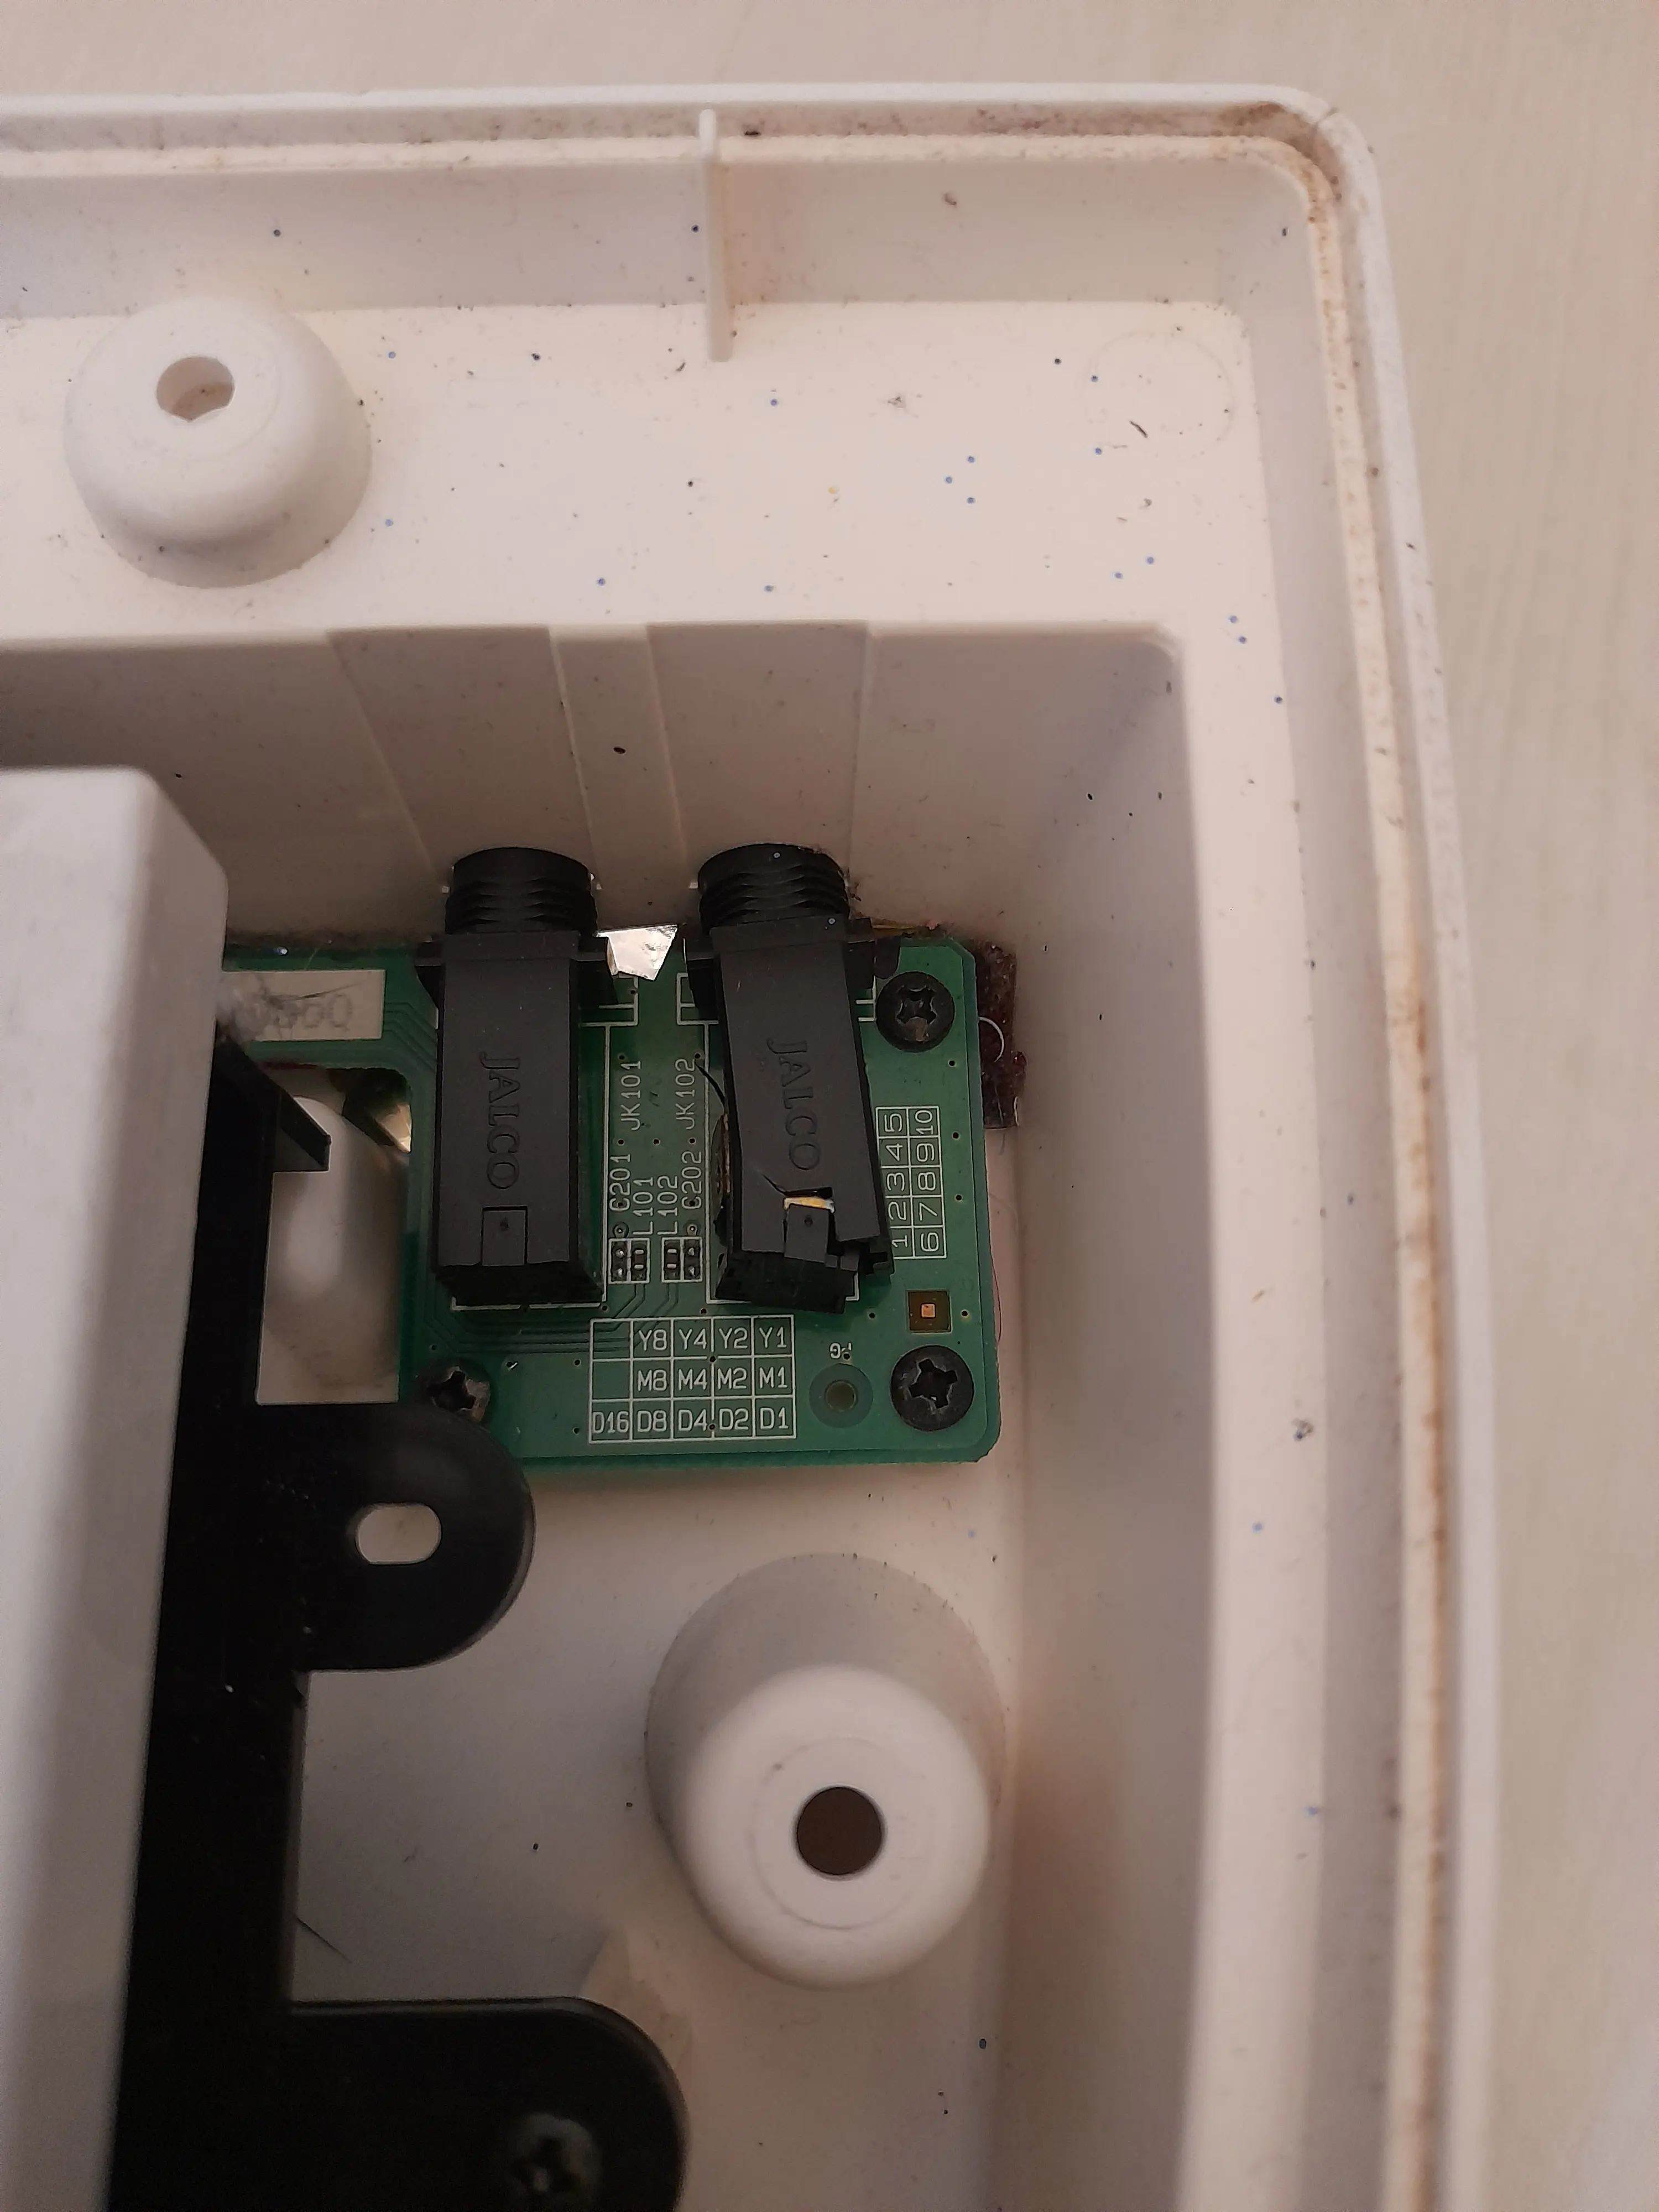
I looked for more signs of corrosion and old capacitors on the PCBs and cleaned all of them with contact cleaner and Q-tips.
By scratching into the copper trace on the PCB with a screwdriver and soldering a strand of copper wire over it, I fixed the instrument selector button 6. I would never want to have to rely on this fix on stage, proper board-repair techniques would be required here. But this is only meant for myself to play at home so I'm fine with it 😁.
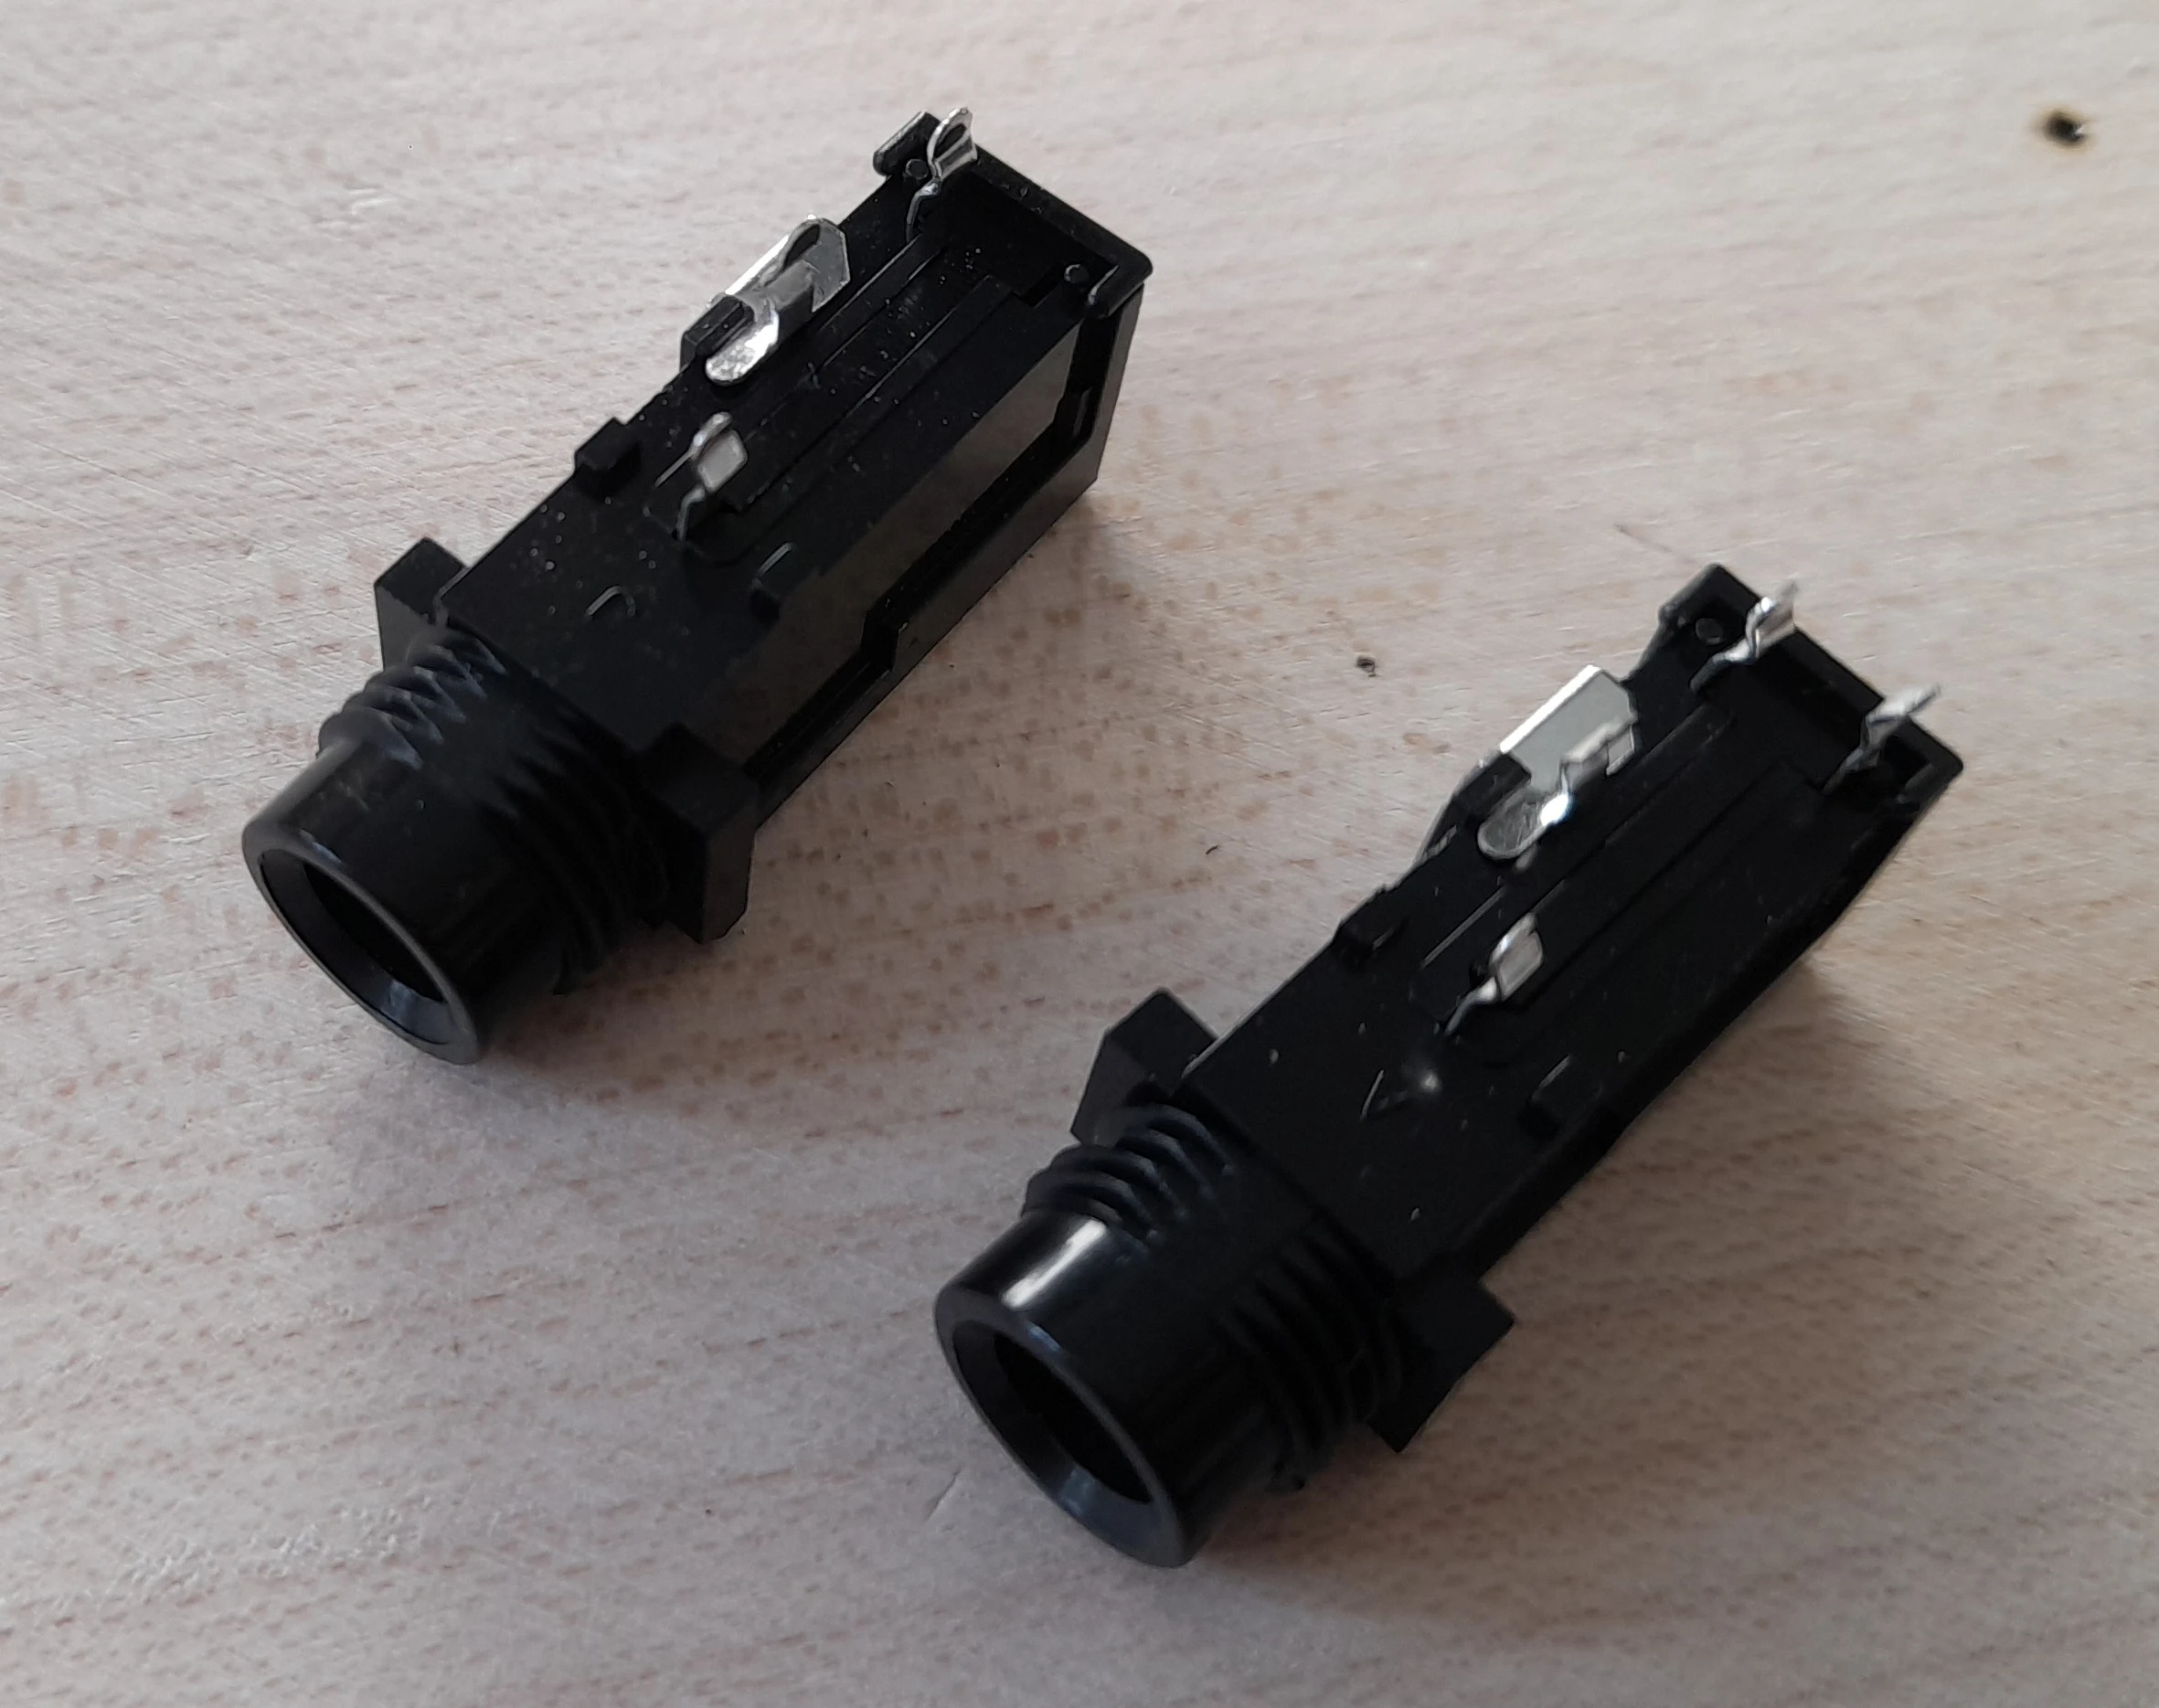
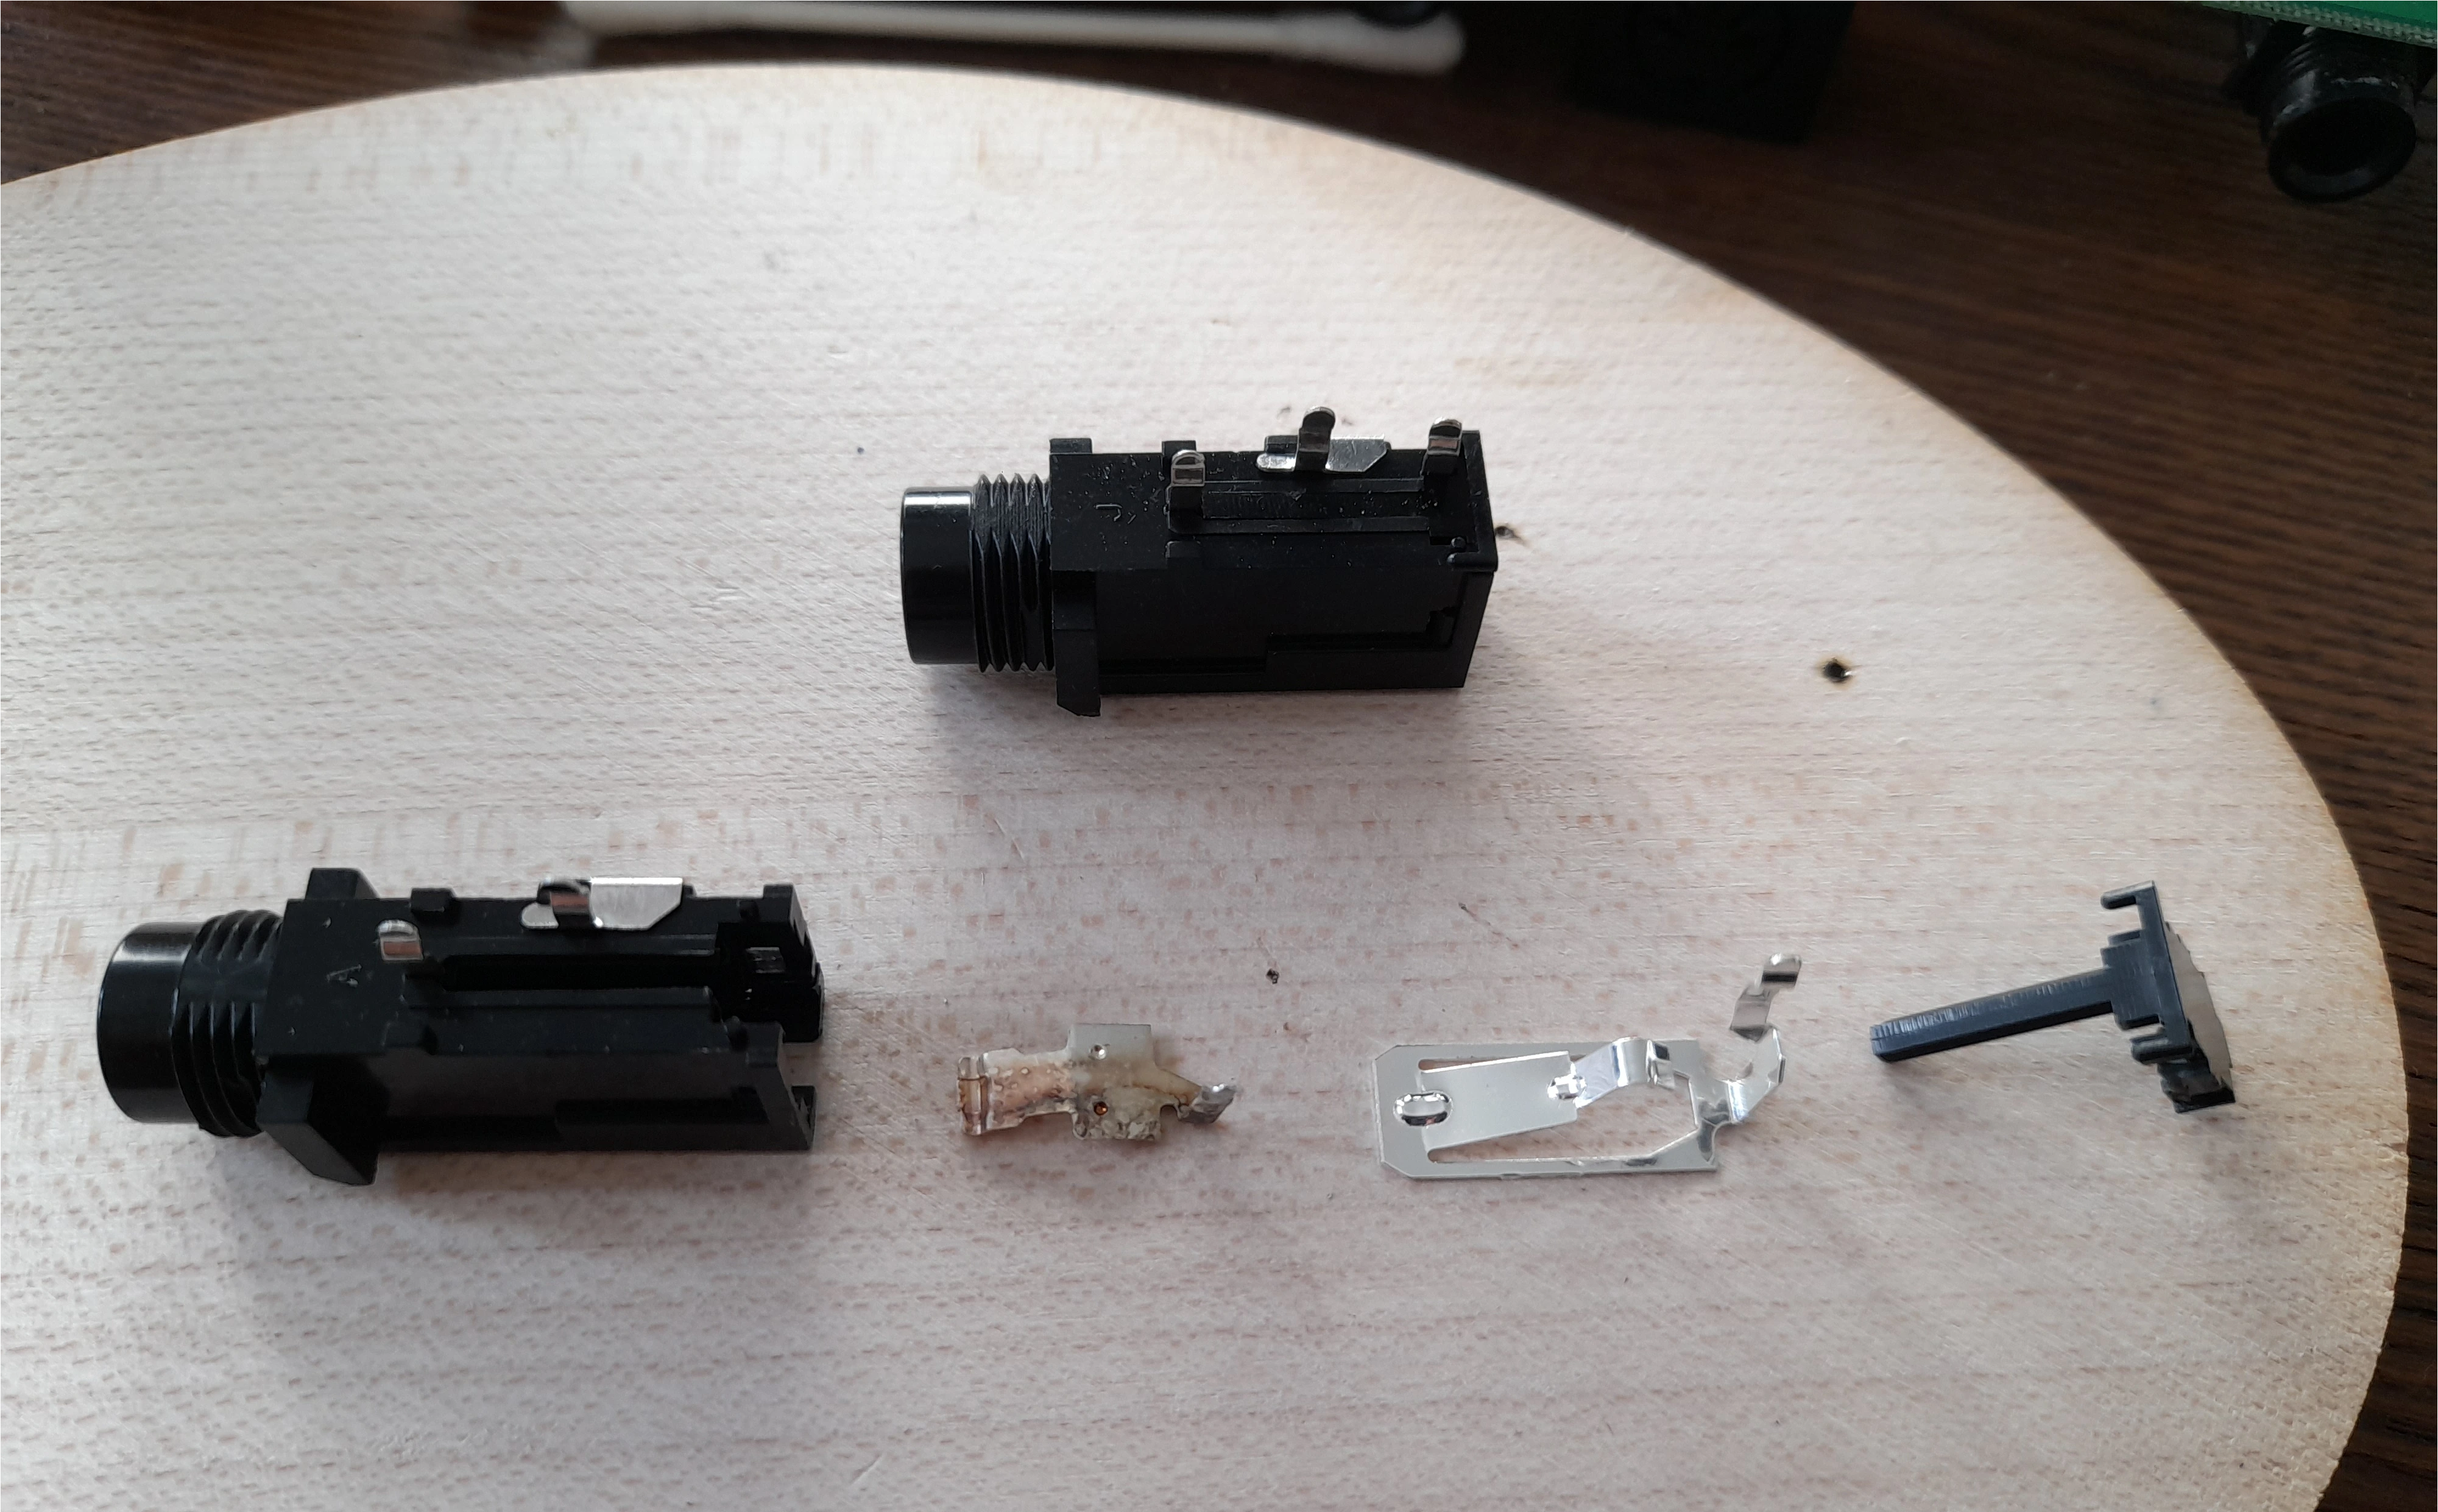
To find a replacement for the audio jack I had to browse the webs for a while. I ordered a part that was advertised as a replacement for Roland 6.3mm mono phone jacks and looked very similar. When I got int in my hands I found that it had one less leg than the original. Luckily, it was constructed precisely the same way as the broken piece and I could transplant the metal piece with the additional leg from the broken part.

With the replacement jack installed and the keyboard assembly temporarily plugged in, stereo output was working fine. Although I cannot say for sure the jack was the fault as the faulty jack was causing no short and while I took the keytar apart a little metal piece that looks very much like the tip of a 2.5mm TRS plug dropped out somewhere, possibly out of the 2.5mm headphone jack... 🤔
Starting to put things back together, I noticed that the two different sizes of screws were ease to confuse.
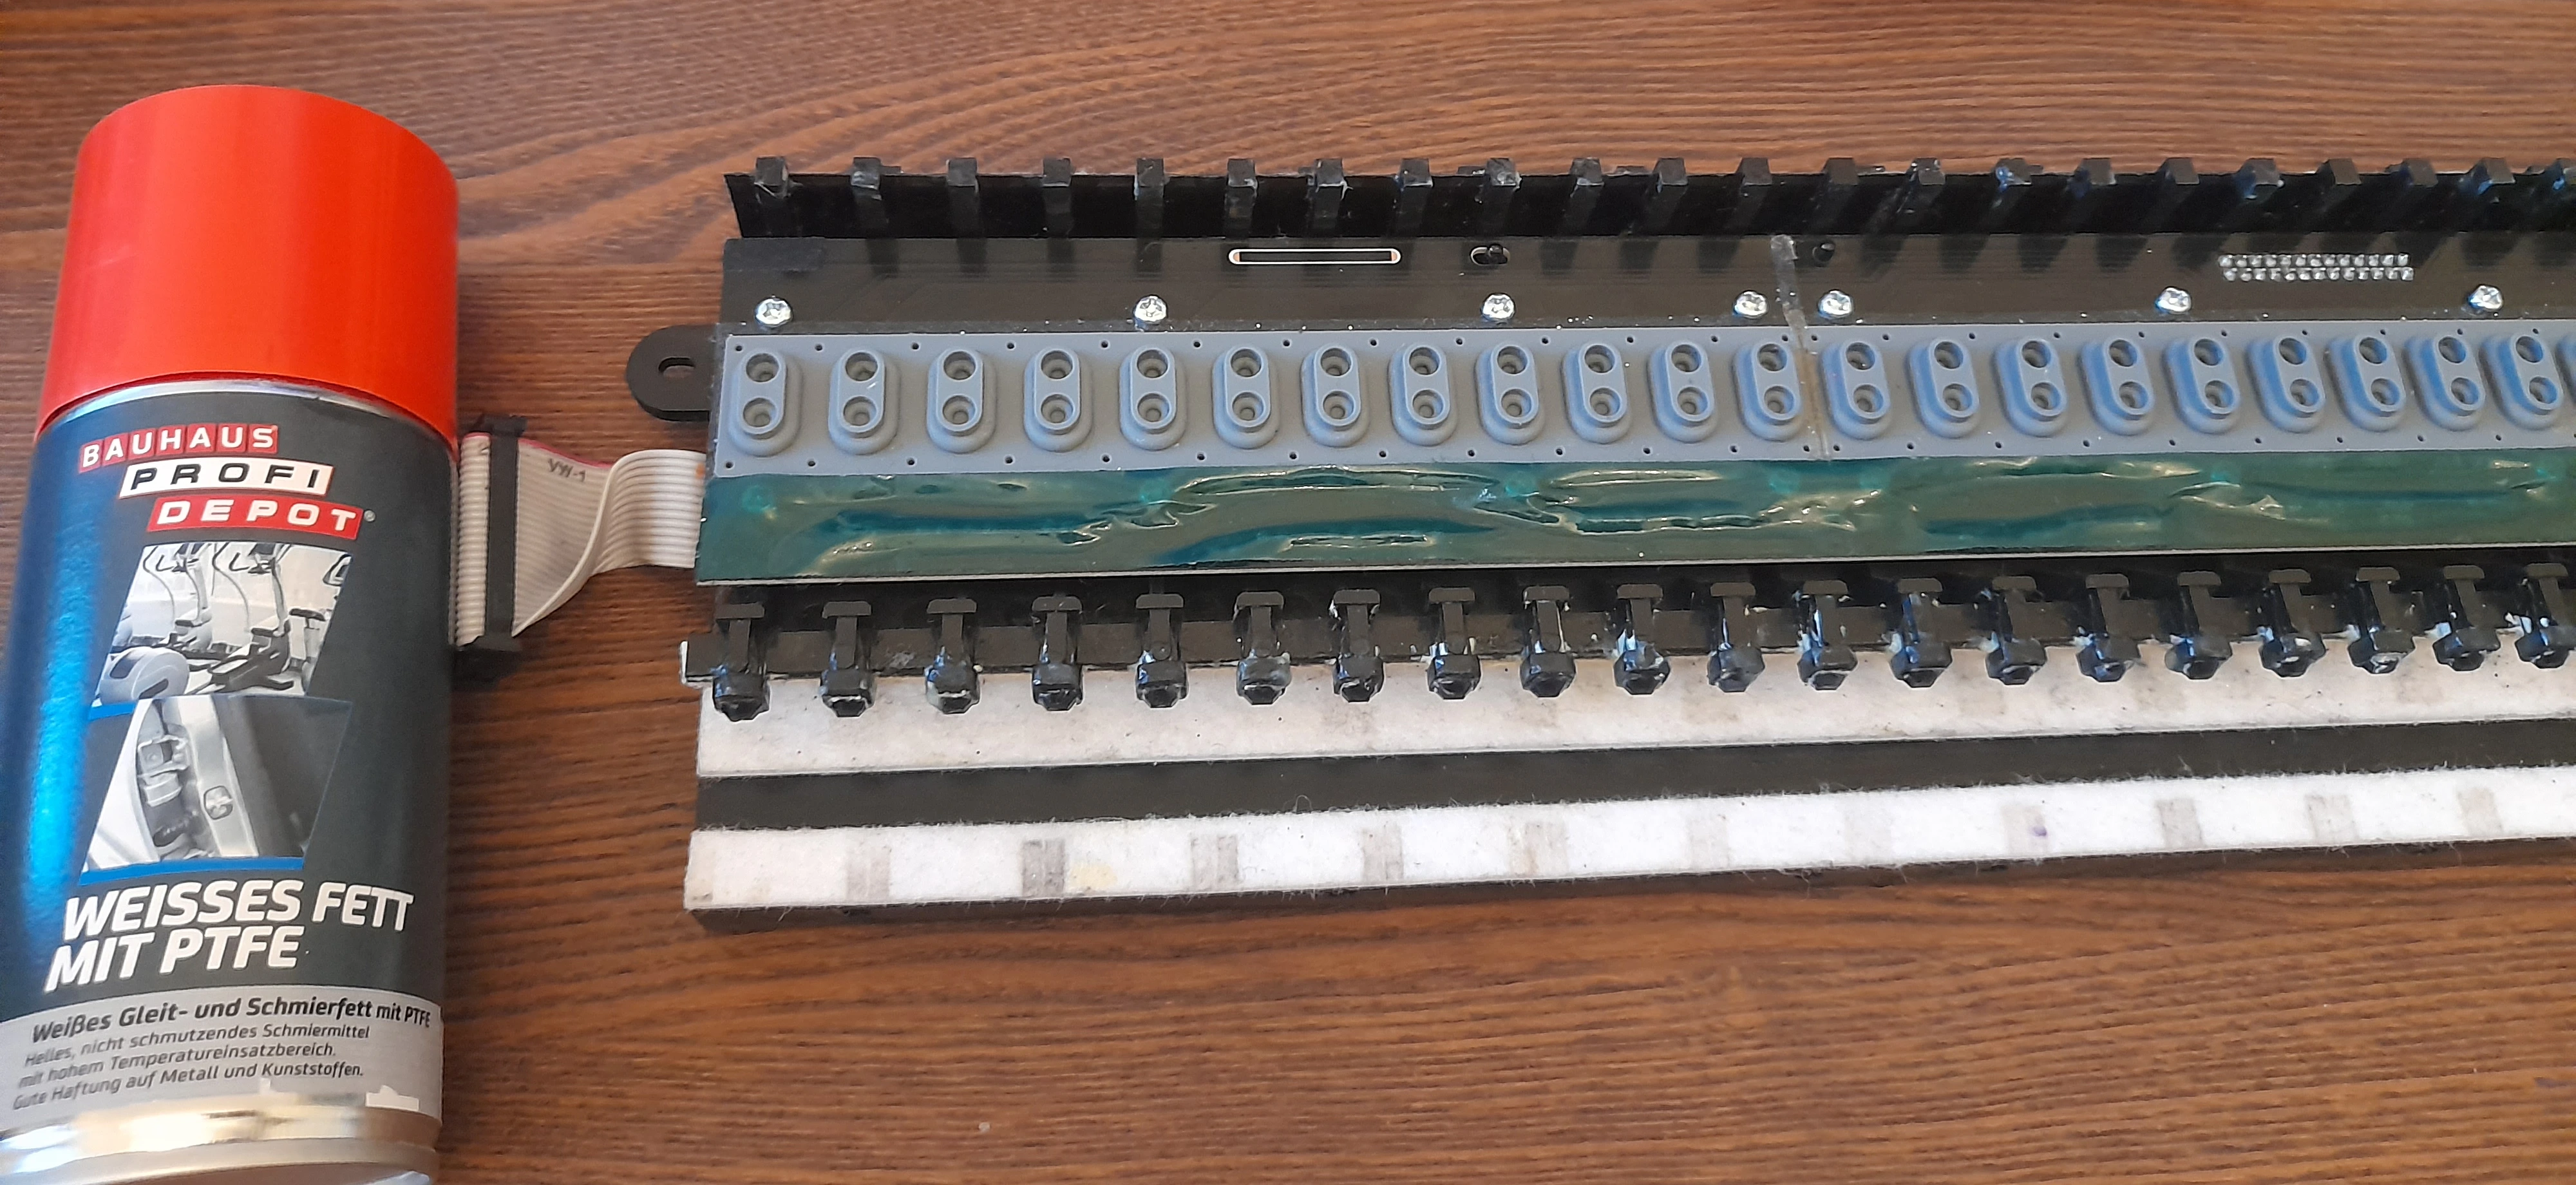
The keys used to be lubricated and dampened with some viscous white grease. Since the grease became very dirty over time I chose to replace it. This grease out of a spray can was the only grease for plastics the nearest hardware store had. The key action does not feel entirely the same with it but I wanted to keep going and not spend more time looking for something ideal.
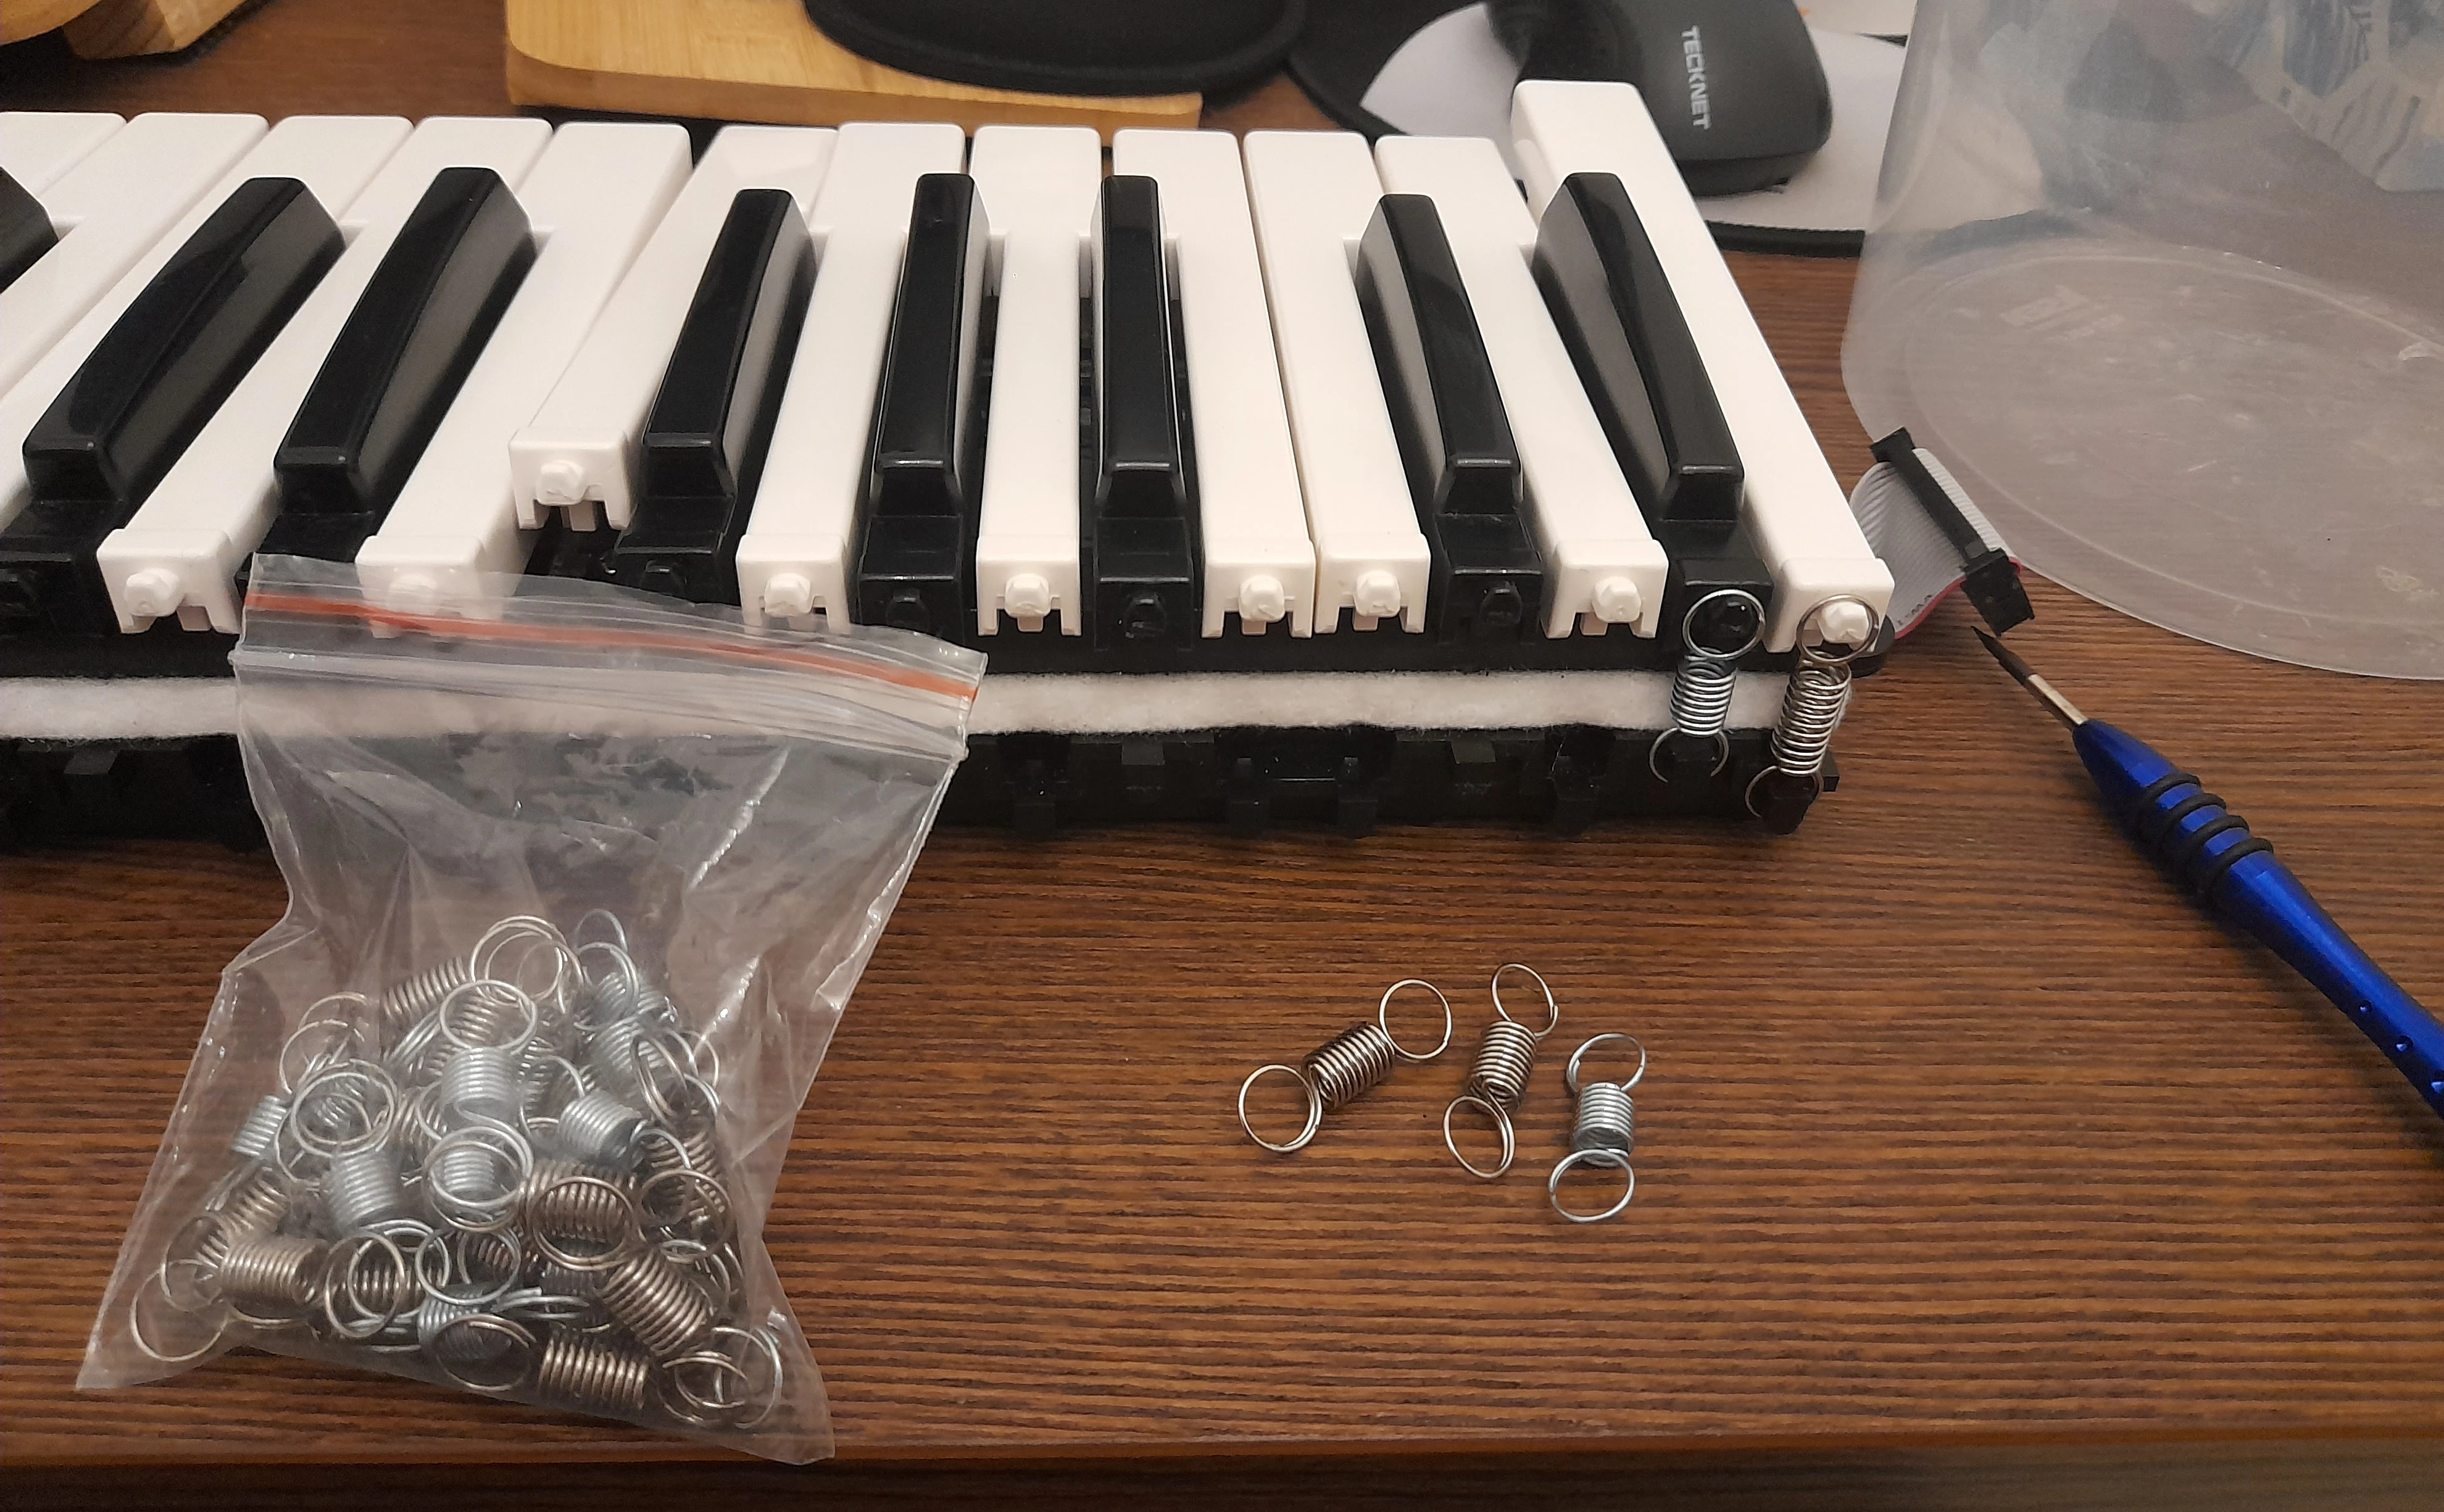
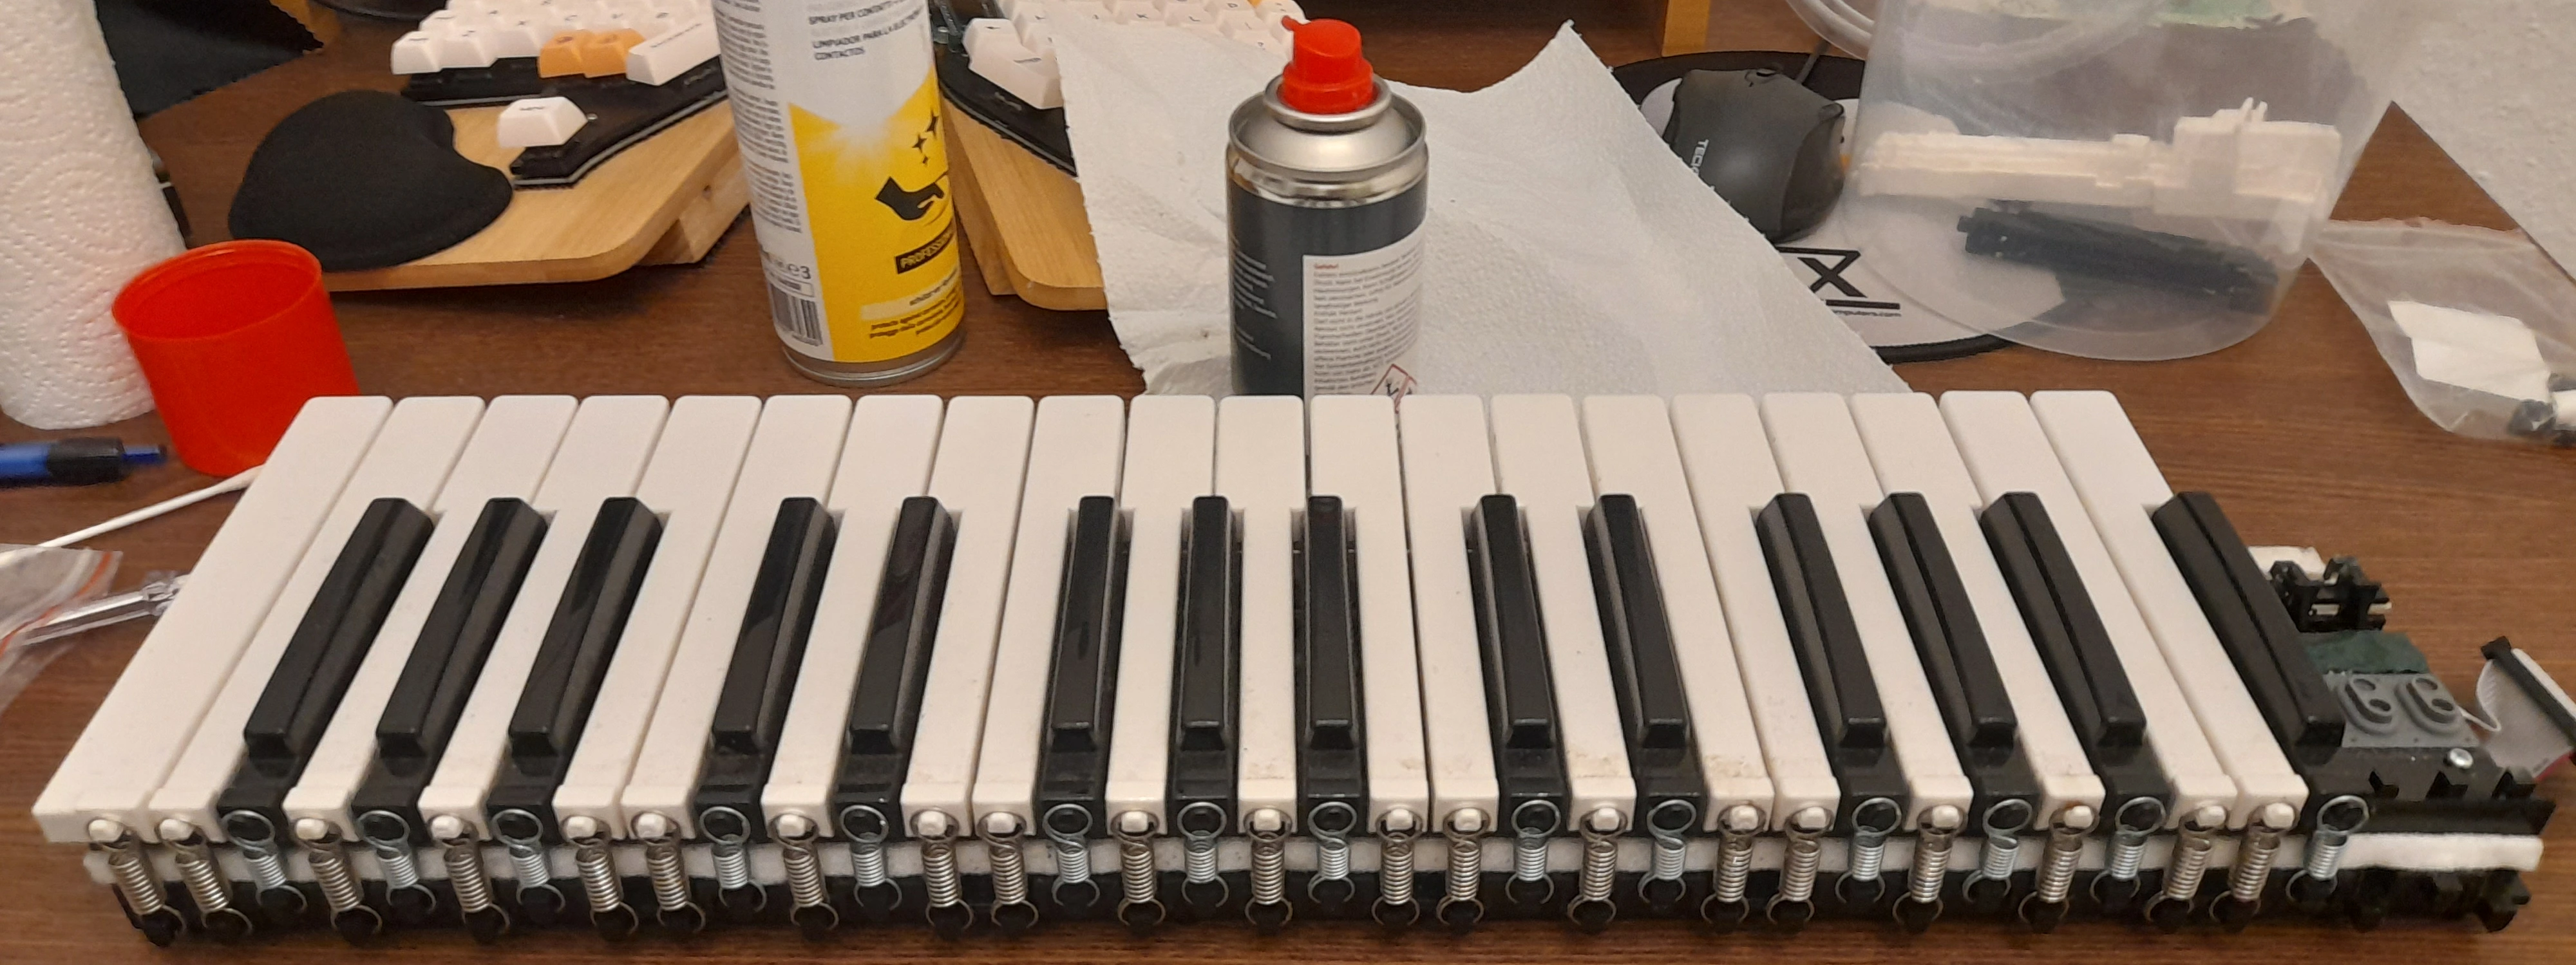
After putting the keys back in place, I put the springs back on using a screwdriver...
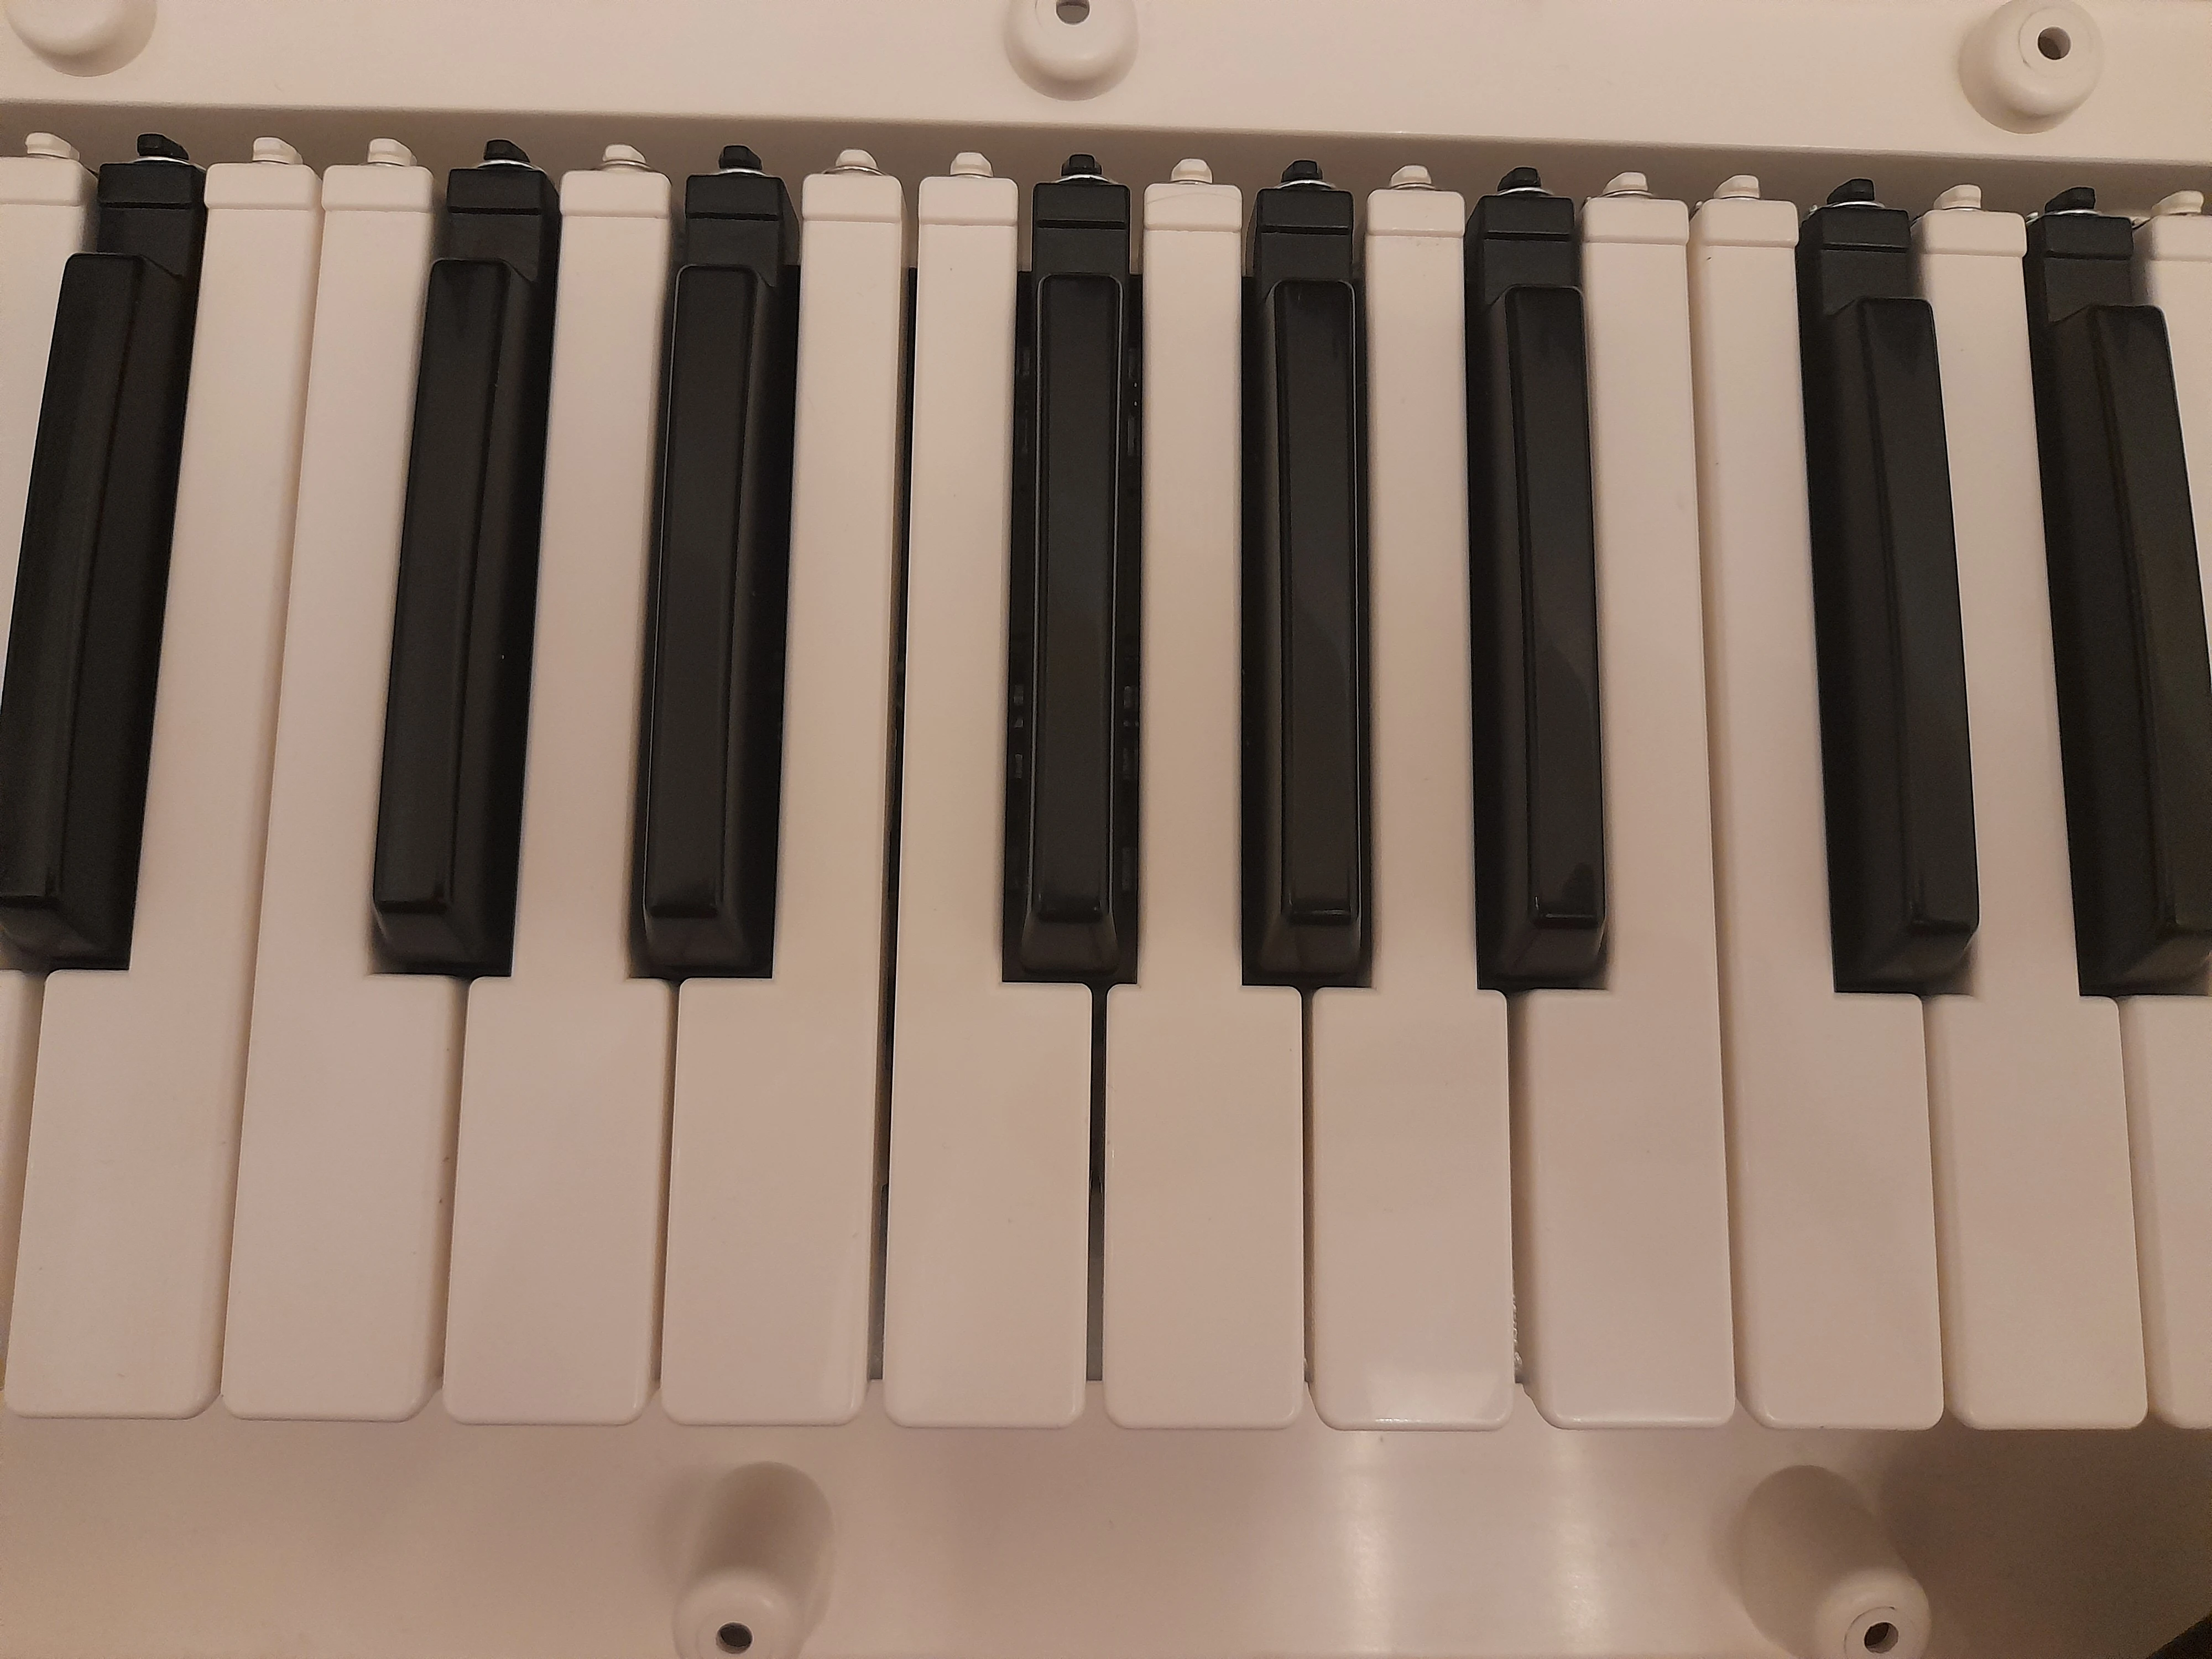
... and realized that the gaps between the keys were uneven. I'm guessing that the c and f keys and/or the e and b keys are not exactly the same shape.
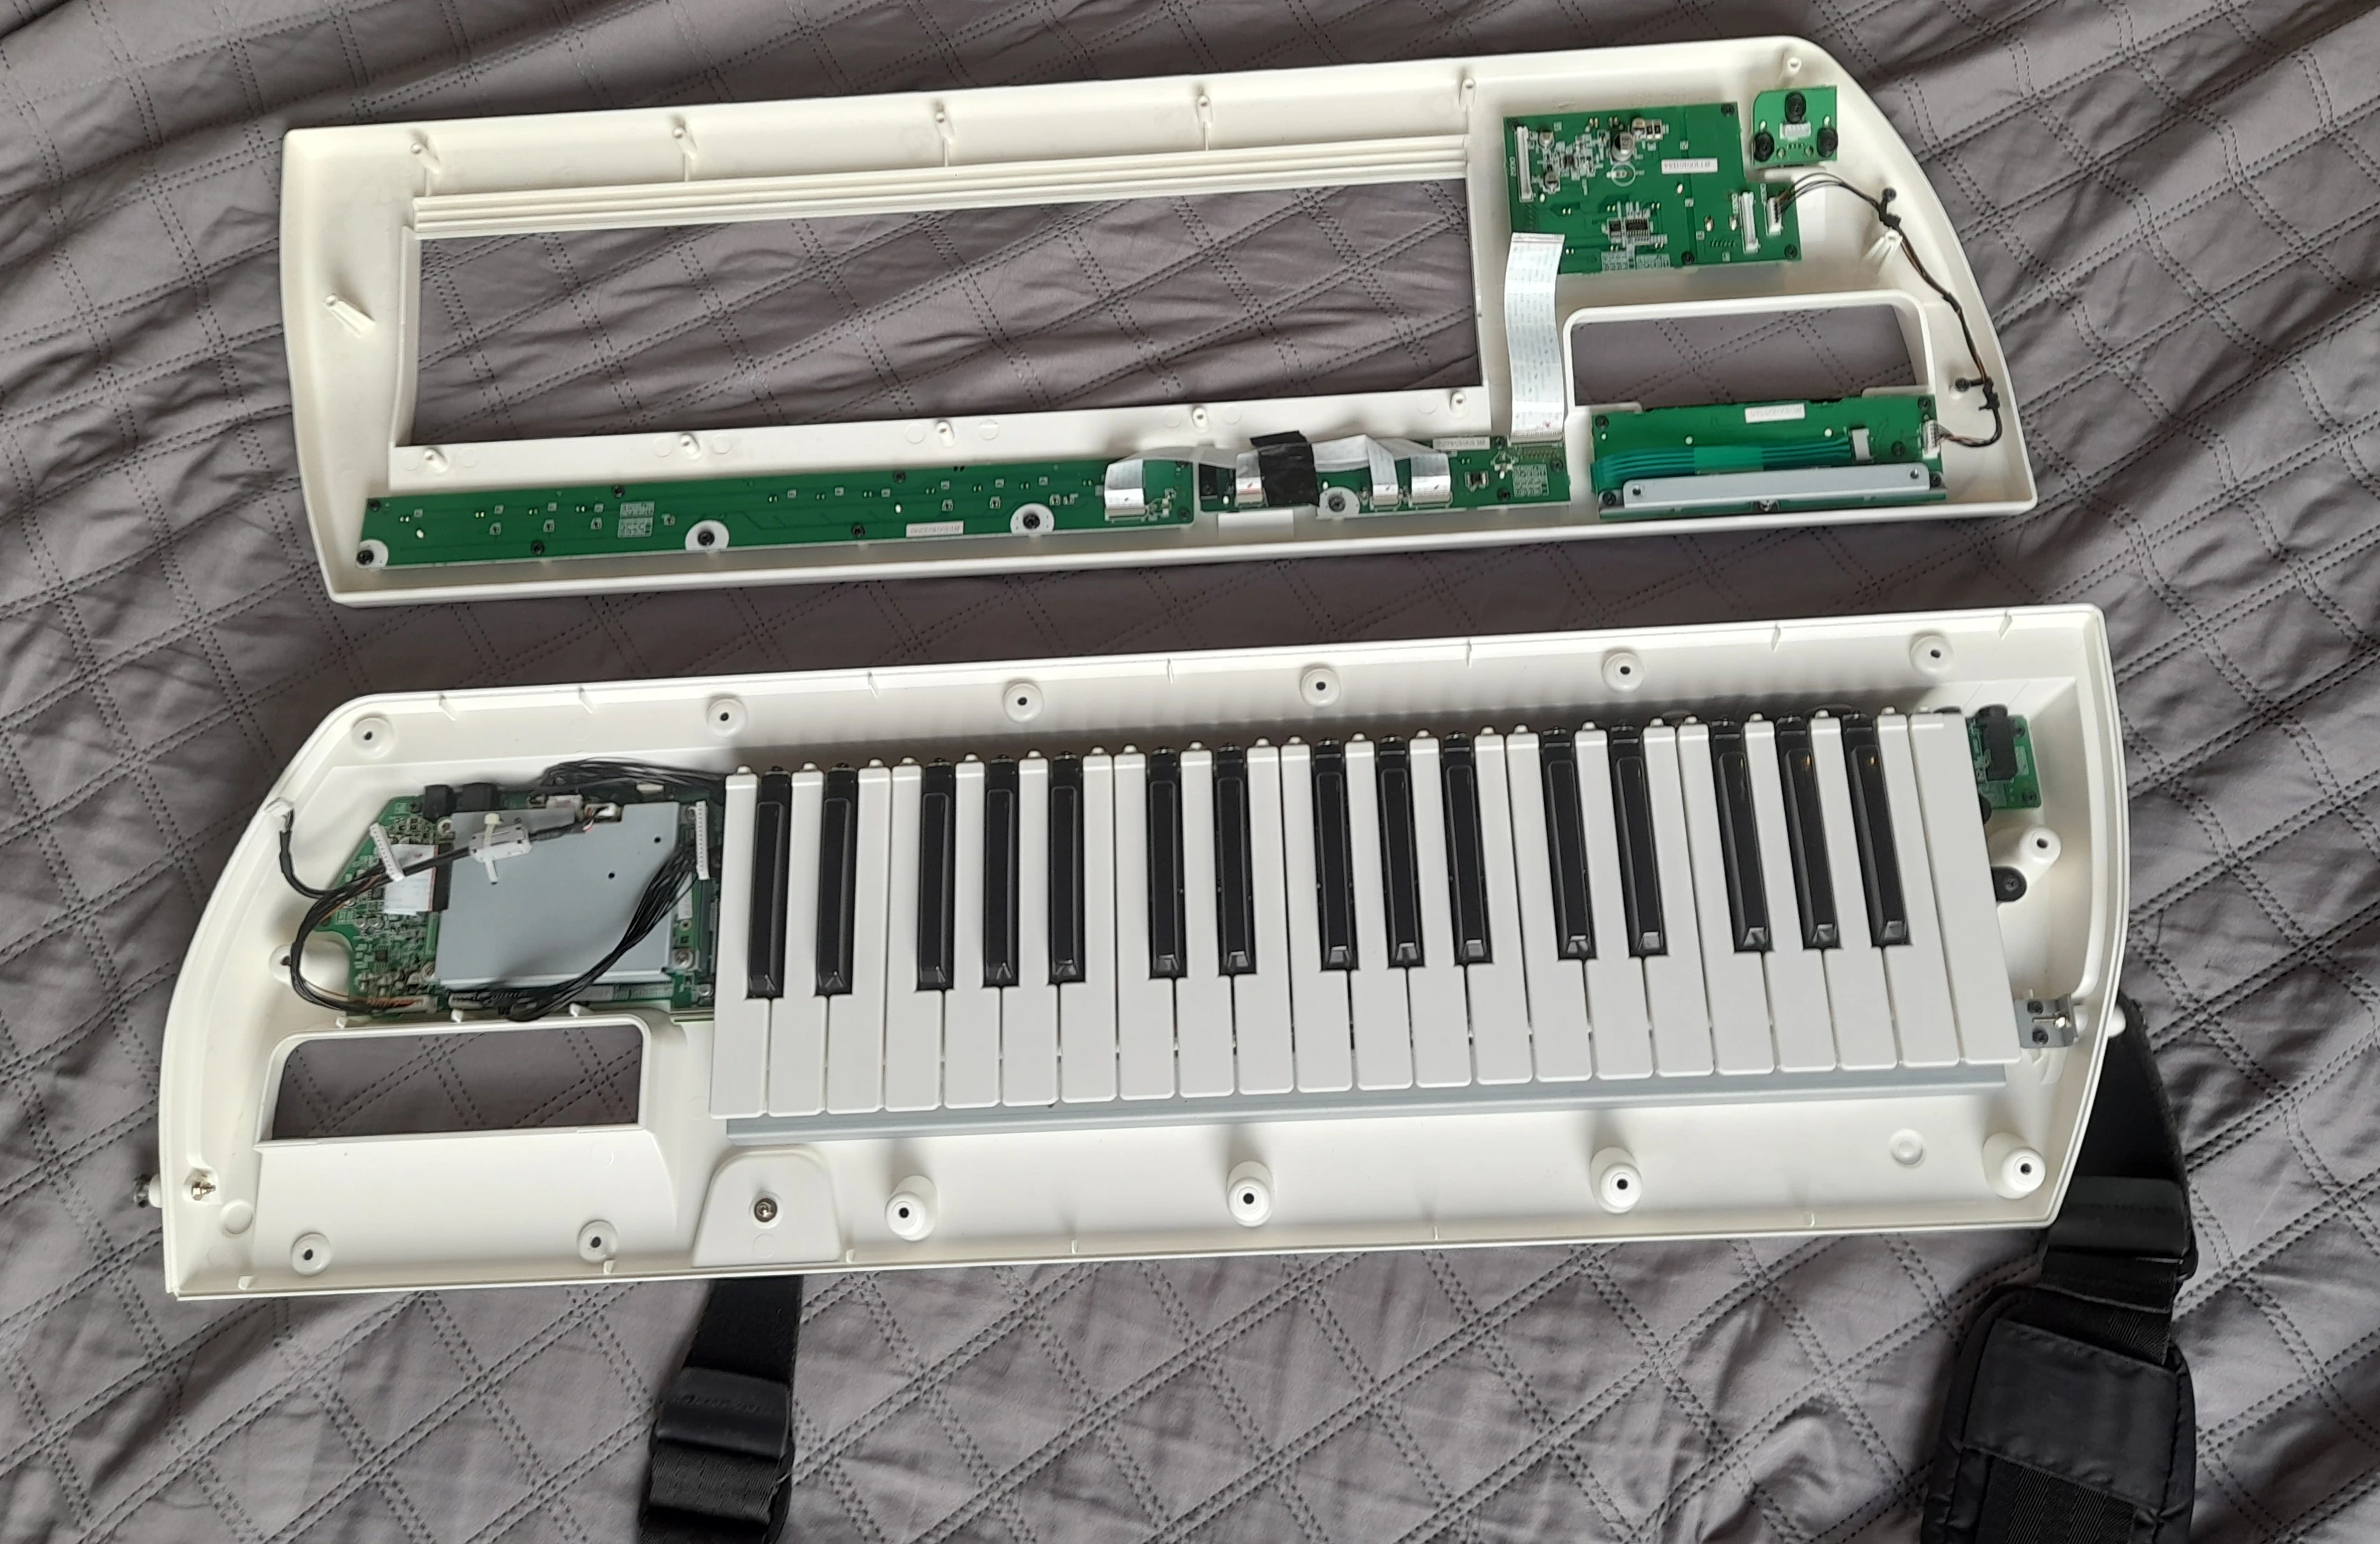
Anyways I proceeded to swap around some of those keys at whim until the gaps looked more even. Above you can see the two re-assembled halves.
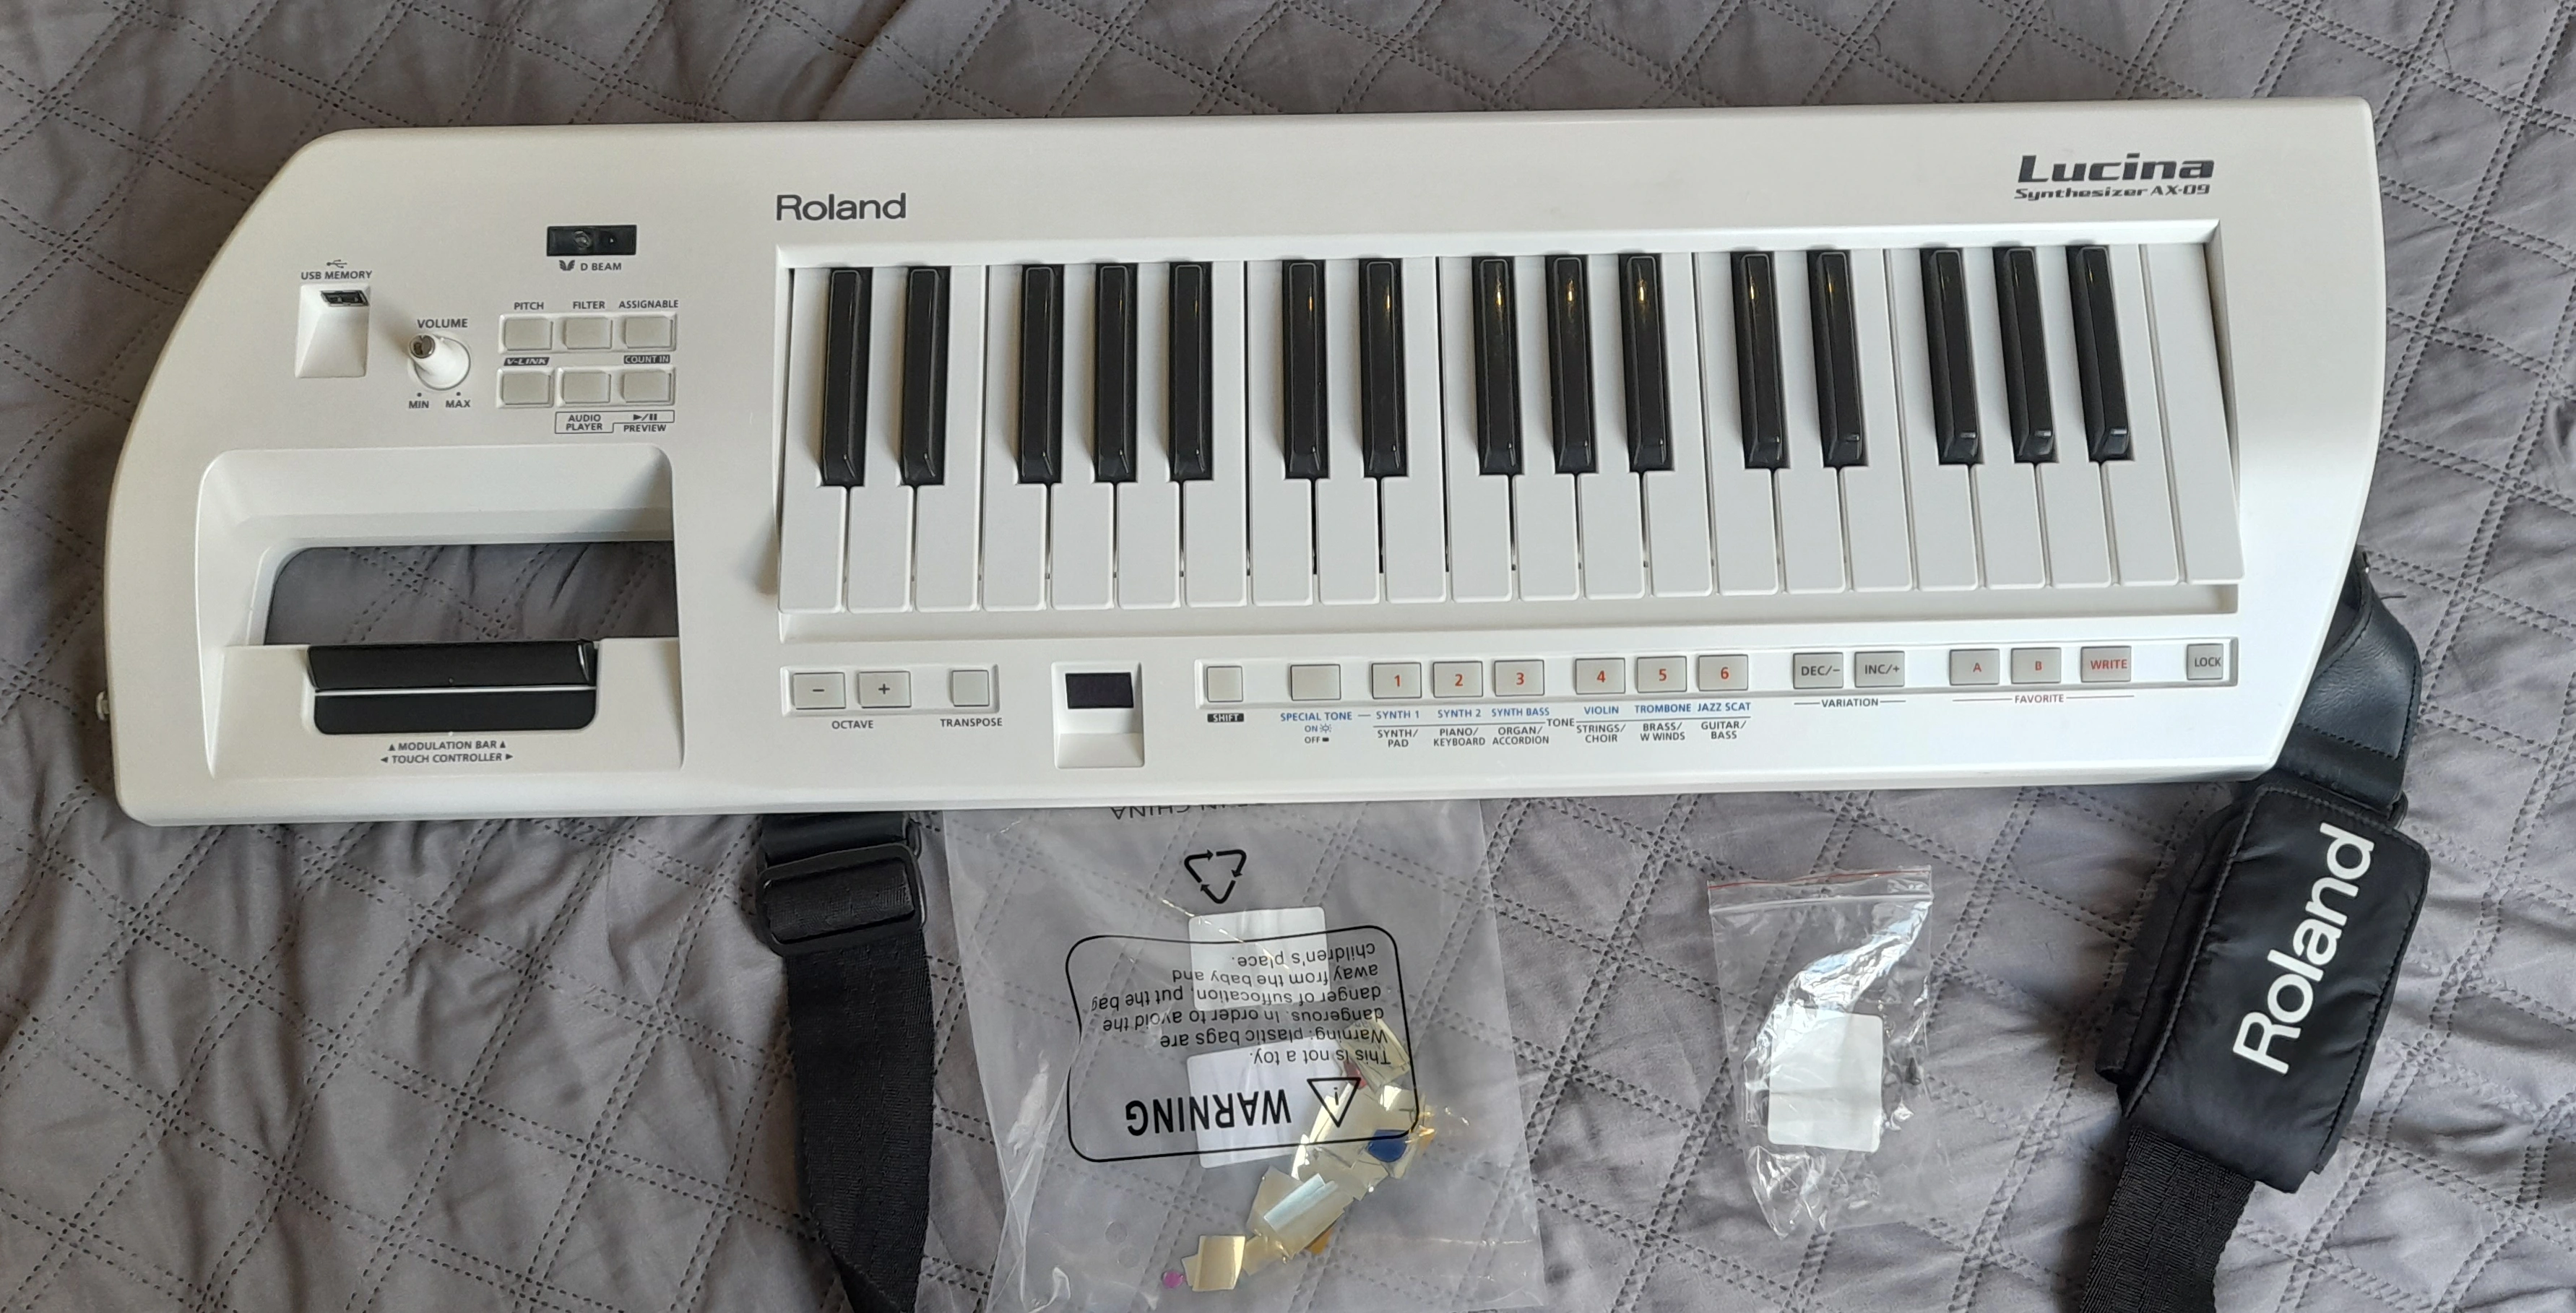
I am pretty happy with the result after putting it all back together! Although I was left with one screw and one remaining screw hole that was too big for it, meaning I must have forced one of the bigger screws into a smaller hole somewhere 😆.
In summary, buying a used Keytar can definitely save some money considering the prices these things are sold at today in comparison to regular keyboards. The cost for additional material for restoration of course depends a lot on the state of the used part. However, I would recommend to buy new if you don't also enjoy these kinds of DIY projects as it does take time. After spending almost two weekends on it I have developed a special connection to my new music instrument though! 😊